
![[Grasshopper]引出線を格納するLeaderの使い方](https://iarchway.com/wp-content/uploads/2024/10/eyecatch-16.png)
引出線を格納する、Leaderの使い方について解説します。
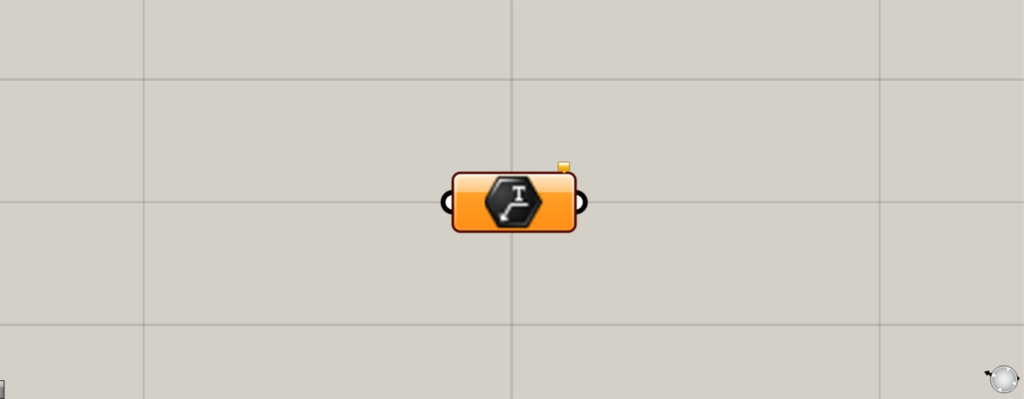
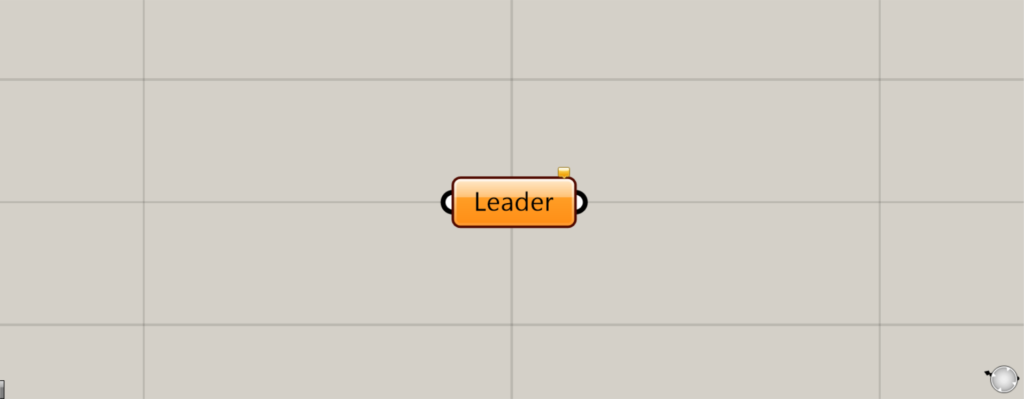
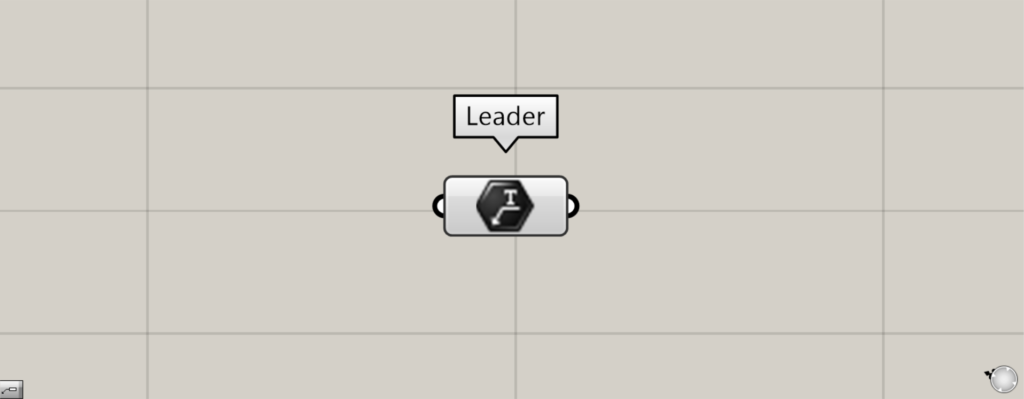
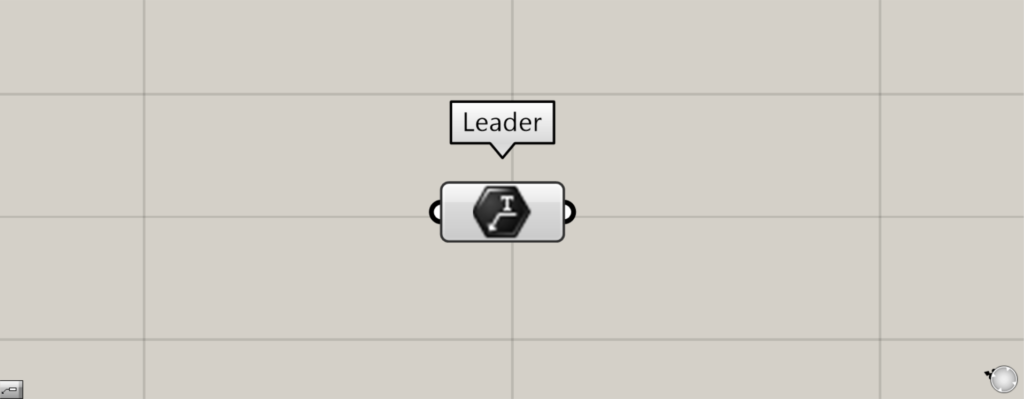
グラスホッパー上では上の2つのどちらかで表されます。
引出線を格納する
Leaderを使うことで、引出線を格納することができます。
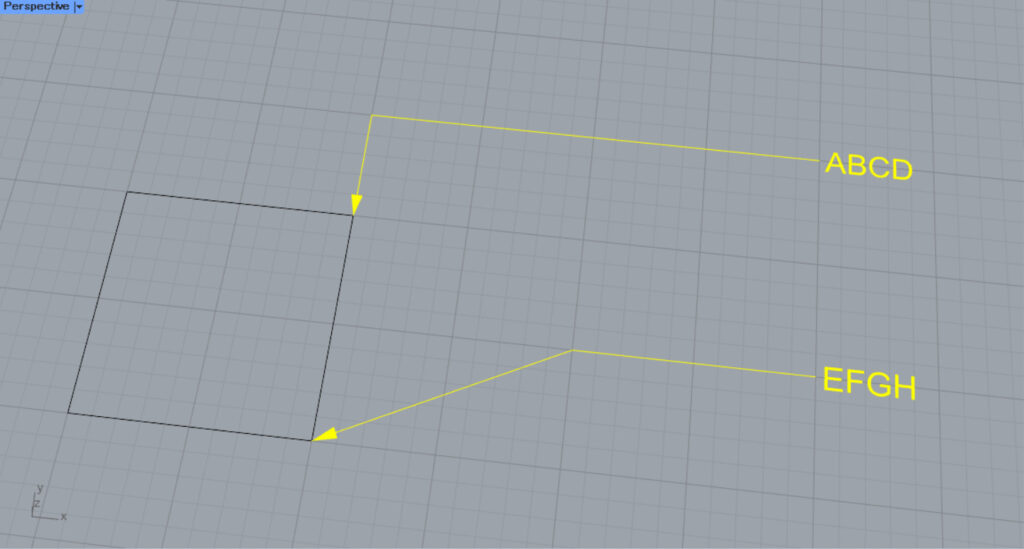
例として、ライノセラス上の線から引出線を作成し、それを格納してみます。
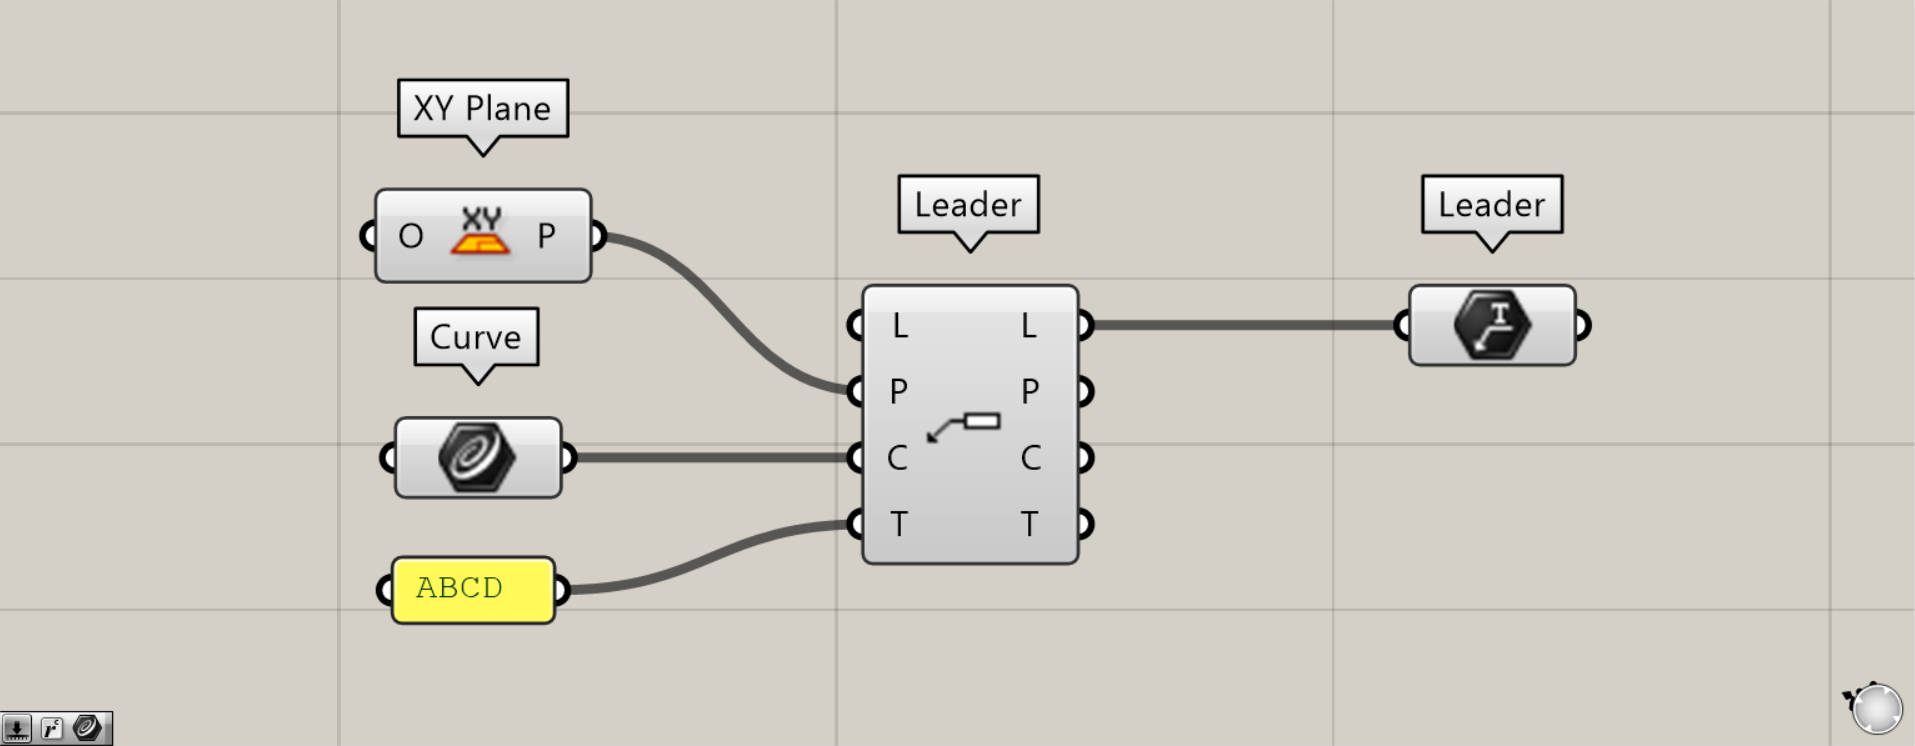
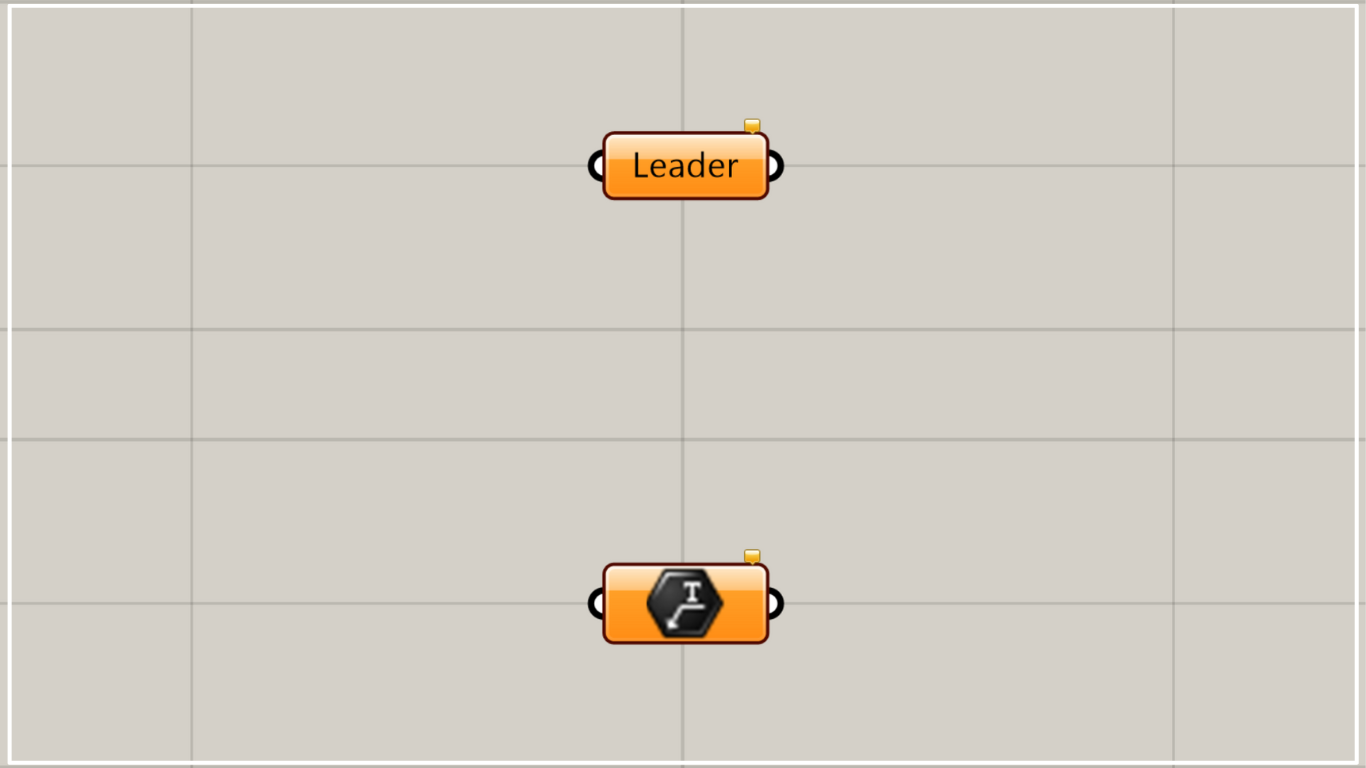
使用コンポーネント:①XY Plane ②Curve ③Leader ④Leader
Leaderは、もう1つの同名のコンポーネントがあることに注意してください。
もう1つのLeaderは、引出線を作成するコンポーネントになります。
今回は例として、2つのLeaderを使って解説します。
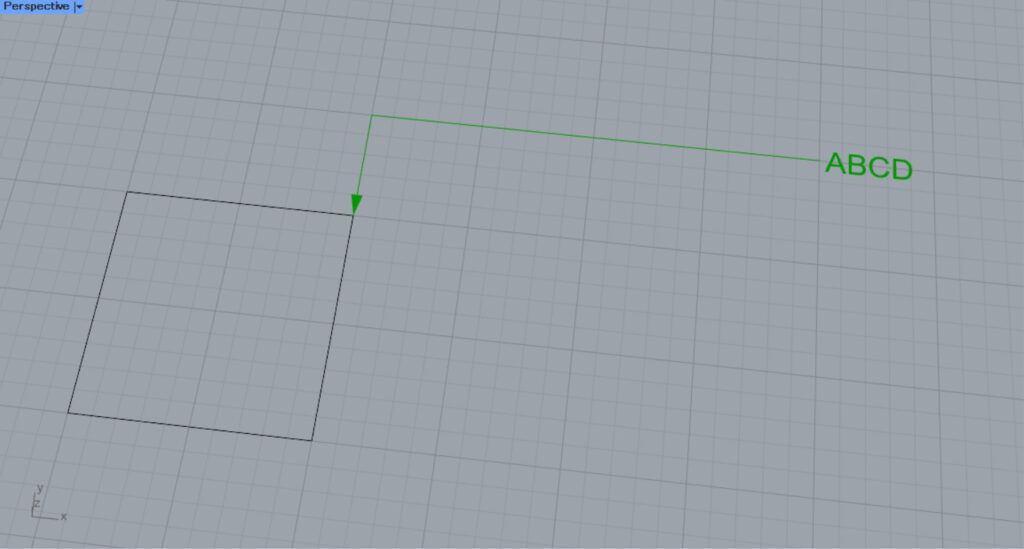
まずは、XY Planeを、もう1つのLeaderのP端子につなげます。
これにより、引出線はXY平面上に作成されるようになります。
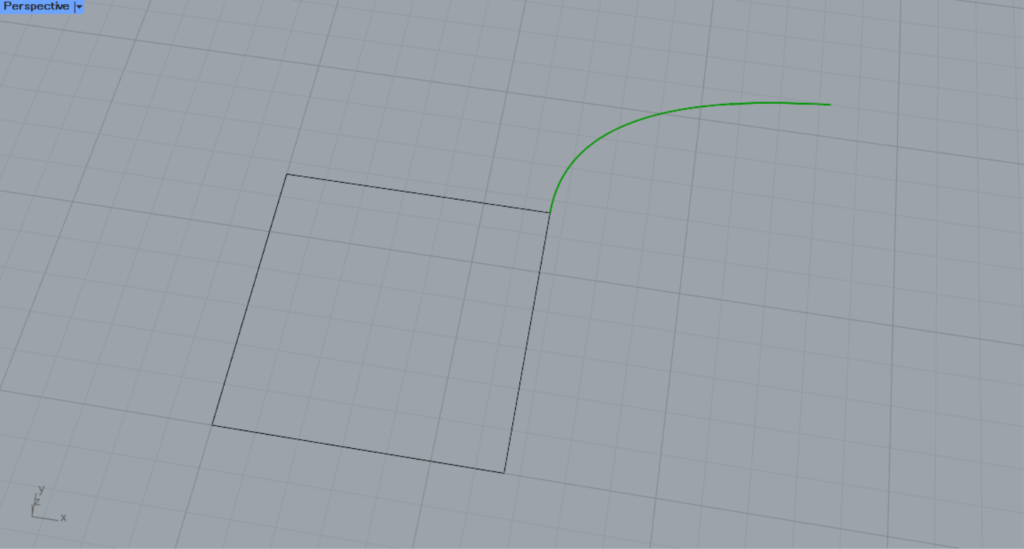
Curveに、ライノセラス上の線を格納します。
その後、Curveを、もう1つのLeaderのC端子につなげます。
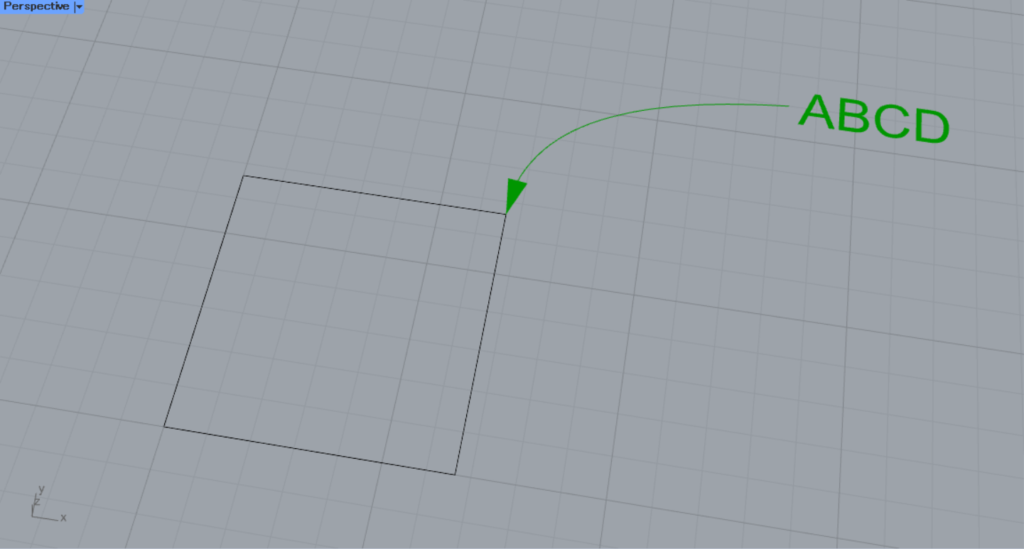
次に、もう1つのLeaderのT端子に、任意の文字を入力します。
今回は、ABCDと入力しました。
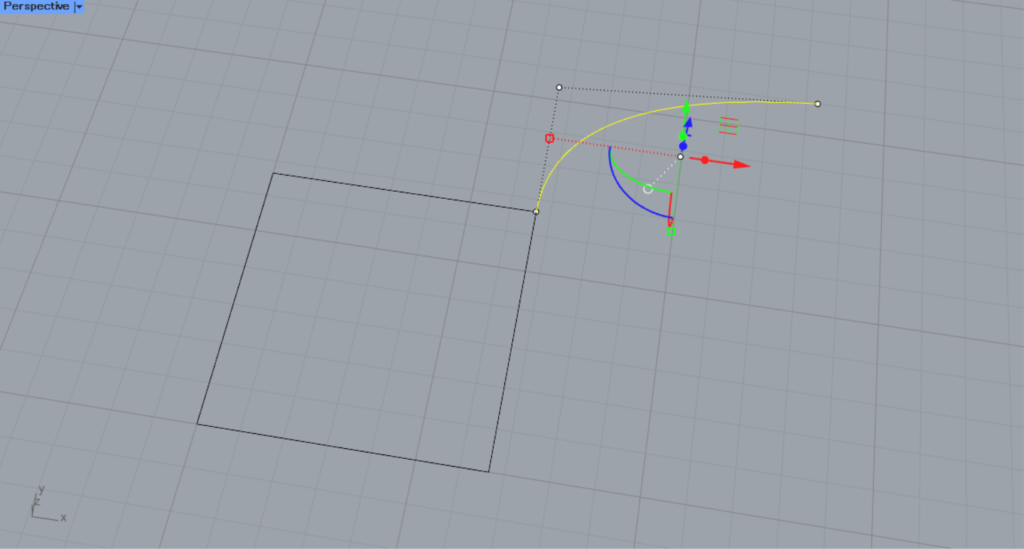
すると、上の画像のように、引出線が作成されました。
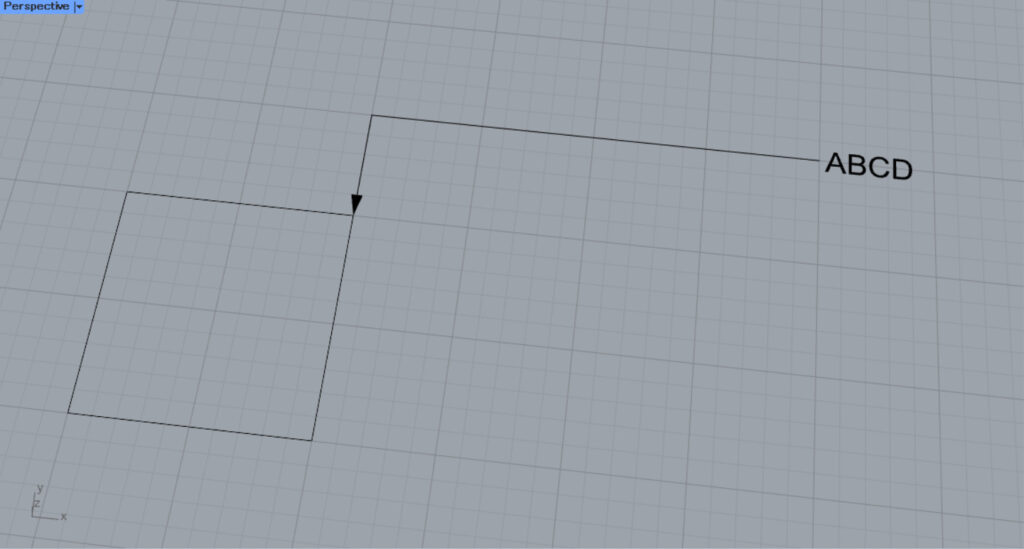
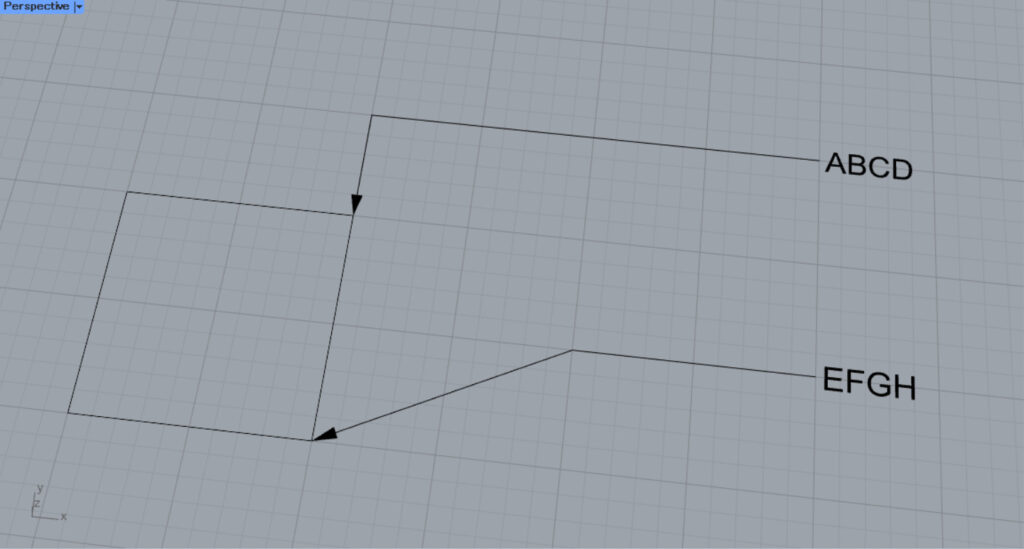
その後、今回のLeaderに、もう1つのLeaderのL端子をつなげます。
すると、作成された引出線が、今回のLeaderに格納されました。
このように、今回のLeaderに引出線を格納することができます。
ライノセラス上の引出線を格納する
Leaderに、ライノセラス上の引出線を直接格納することができます。
最初は、ライノセラス上の1つの引出線を格納してみます。
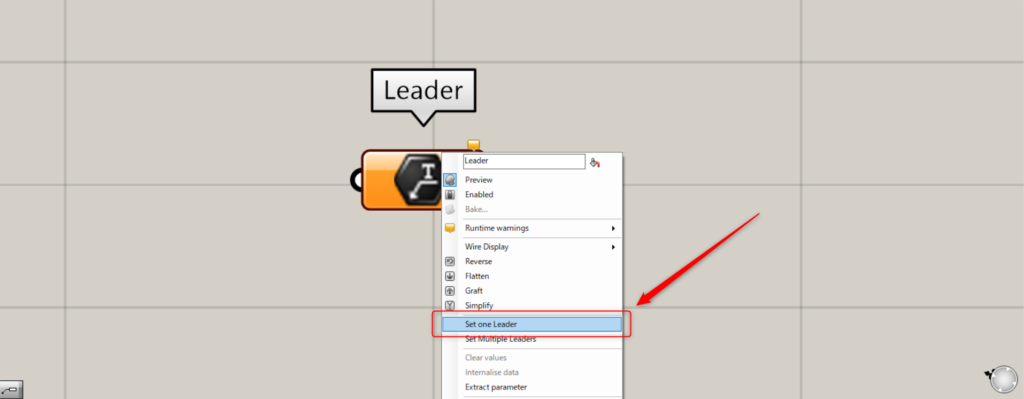
1つの場合、Leaderを右クリックし、Set one Leaderを選択します。

すると、ライノセラス上の画面に切り替わります。
格納したい、任意の引出線を選択します。
すると、ライノセラス上の引出線が格納されました。
ライノセラス上の様子です。
次に、ライノセラス上の複数の引出線を格納してみます。
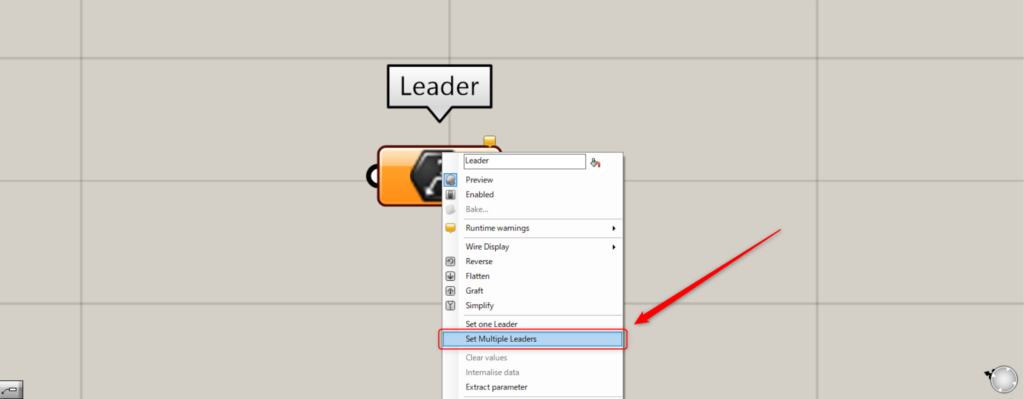
複数の場合、Leaderを右クリックし、Set Multiple Leadersを選択します。
その後、ライノセラス上で複数の引出線を選択します。
すると、ライノセラス上の複数の引出線が格納されました。

ライノセラス上の様子です。
Leaderコンポーネントを使用しているグラスホッパー記事はこちら↓


Comment