
![[Grasshopper]Geometryコンポーネントの使い方](https://iarchway.com/wp-content/uploads/2024/03/eyecatch.png)
Geometryコンポーネントの使い方について解説します。

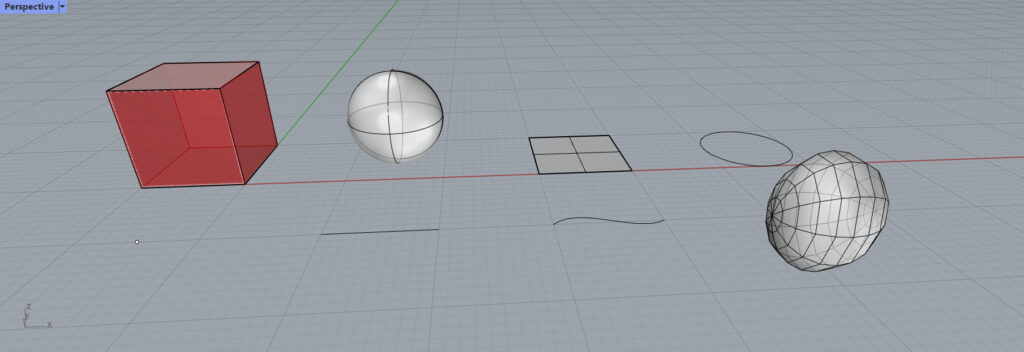
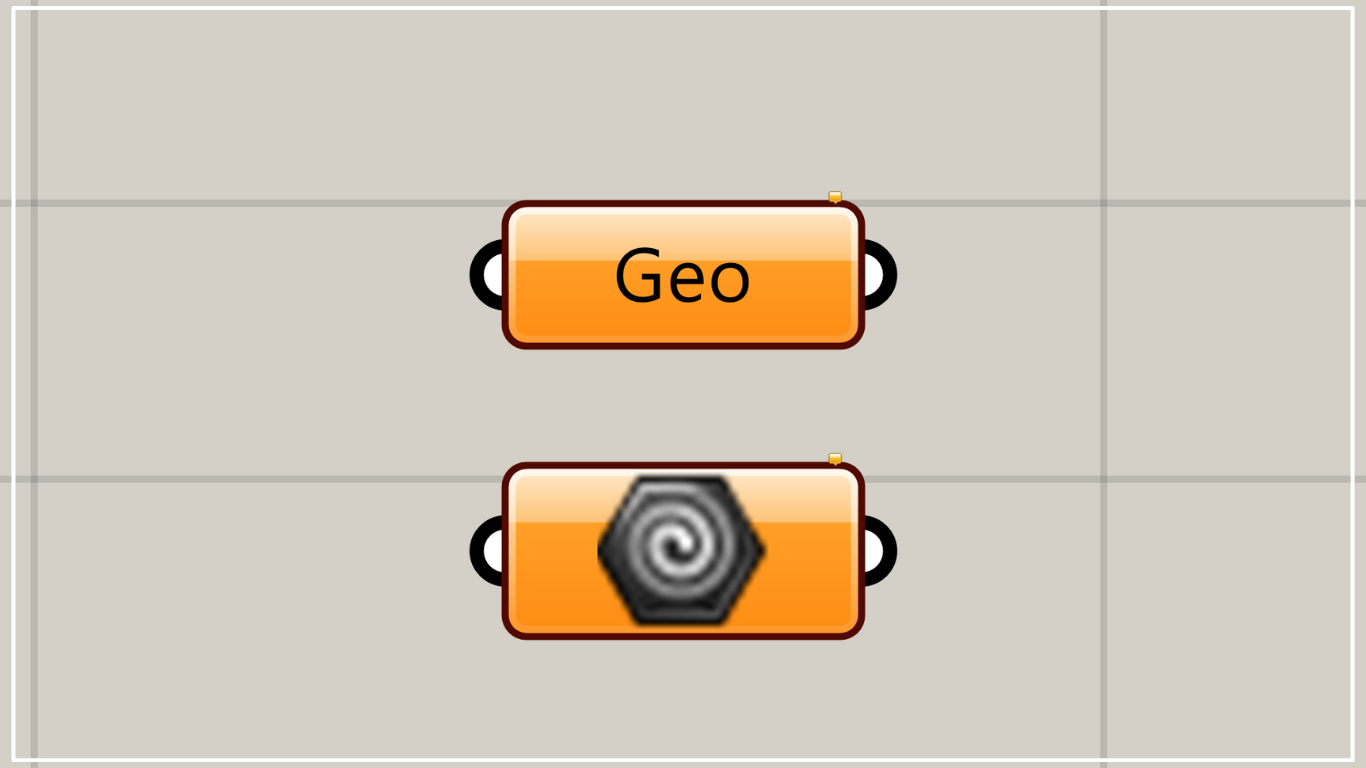
グラスホッパー上では上の2つのどちらかで表されます。
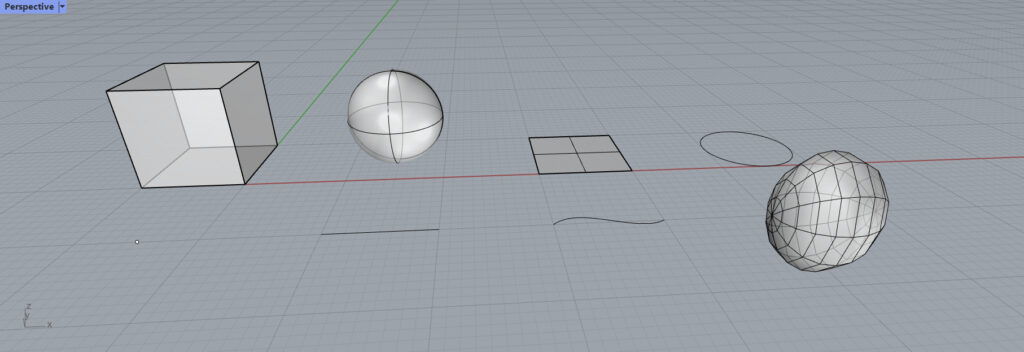
ライノセラス上のほぼ全ての種類のオブジェクトを格納できる
Geometryは様々な種類のオブジェクトを格納することができます。
ソリッド・サーフェス・曲線・点・メッシュなど、ほぼ全て格納することができるので、初心者のうちや困ったらとりあえずGeometryコンポーネントを使用しましょう。
格納方法
オブジェクトを1つ格納する

まずはオブジェクトを1つ格納する方法です。
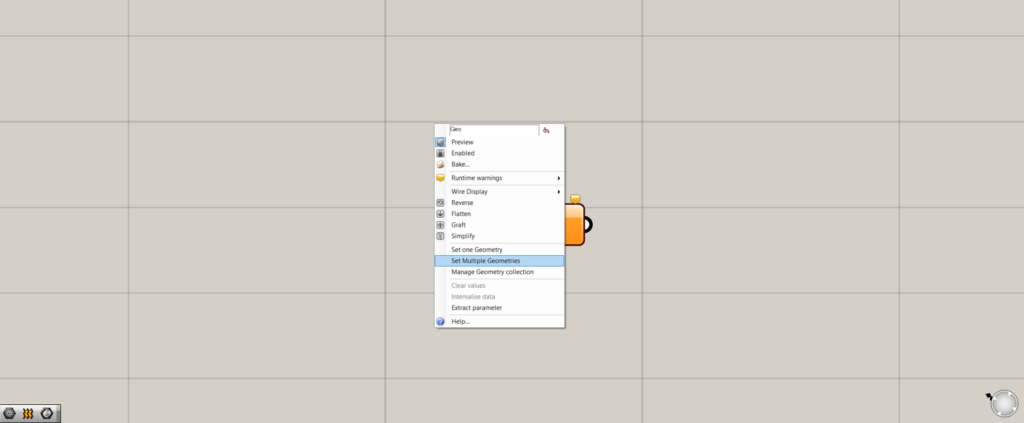
Geometryコンポーネントを右クリックします。
すると、上のような画面が出て来るので、Set one Geometryを選択します。

すると、グラスホッパーの画面が消え、ライノセラスの画面が出てきます。
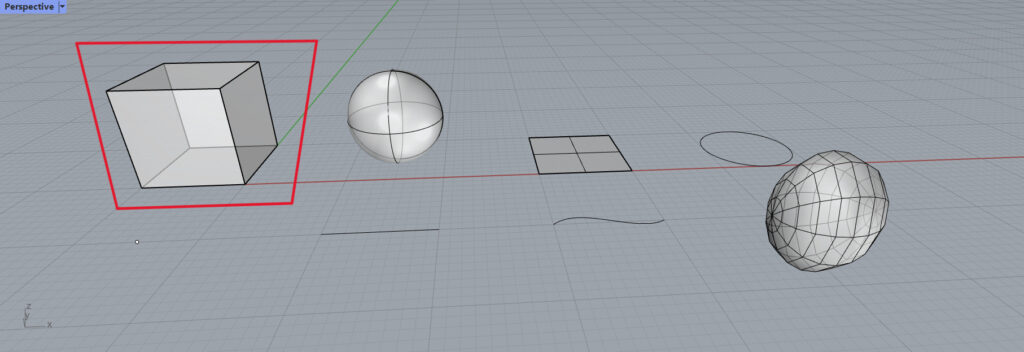
今回は直方体を選択します。
すると、グラスホッパーの画面に戻ります。
Geometryコンポーネントがオレンジではなく、白色になっていたら成功です。
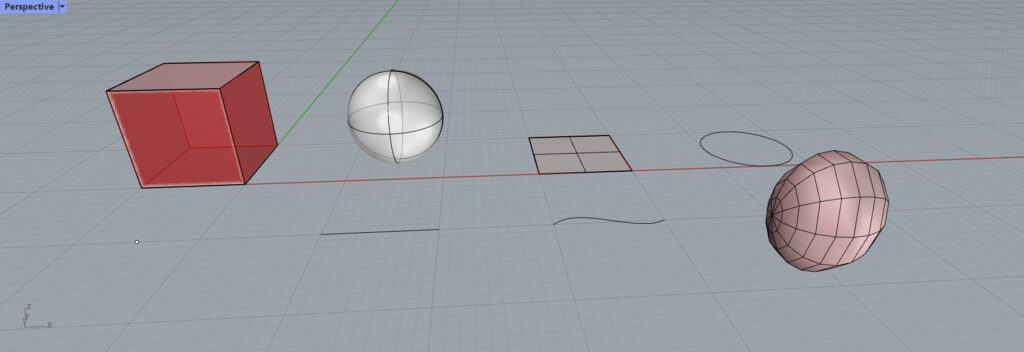
ライノセラス上で見ると、直方体が赤くなっています。
これで、直方体がGeometryコンポーネントに格納されていることが確認できました。
複数のオブジェクトを格納する
今度は複数のオブジェクトを格納します。
右クリックをして、Set Multiple Geometriesを選択します。
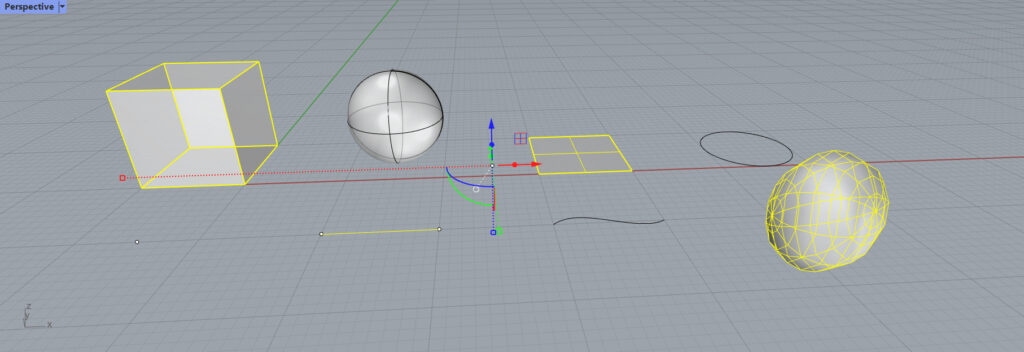
ライノセラス上で複数のオブジェクトを選択します。
選択し終わった、右クリックかEnterキーを押しましょう。
すると、複数のオブジェクトが格納されました。
グラスホッパー上のオブジェクトを格納する
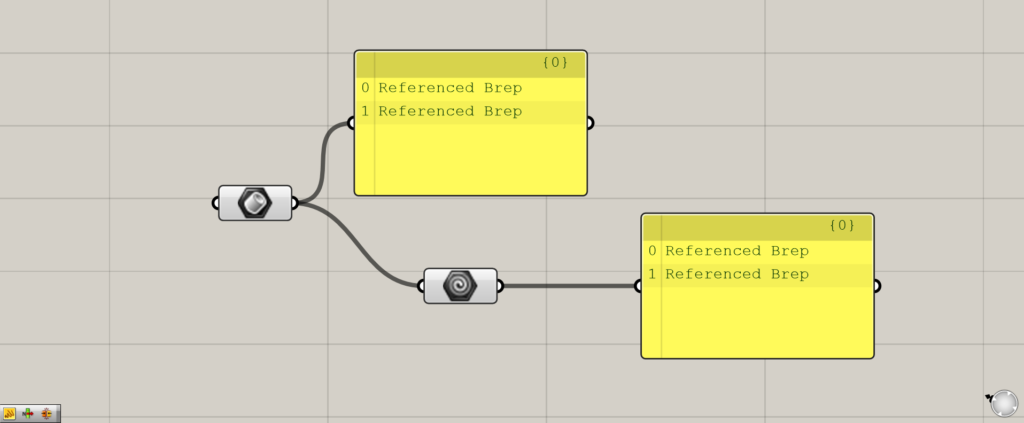
この上の画像のように、すでにグラスホッパー上にあるデータも繋げとGeometryに反映されます。
Geometryコンポーネントで格納できないもの
Geometryコンポーネントでも格納できないものがあります。

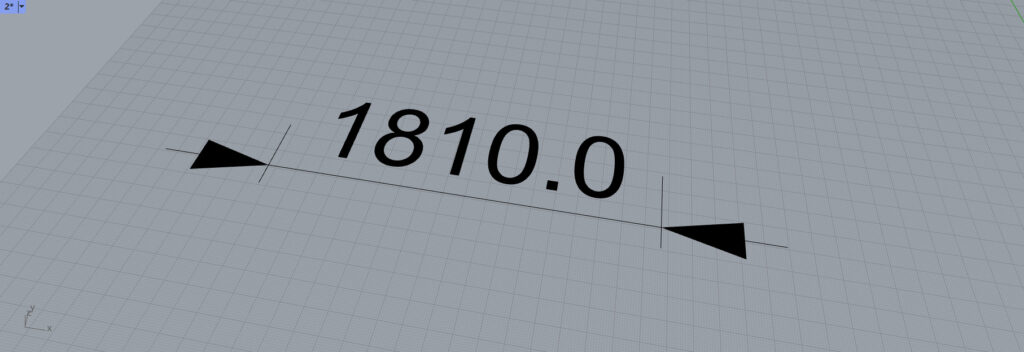
このような文字や寸法線は、Geometryコンポーネントに反映させることができません。
グラスホッパー上でも同様に、反映することはできません。
Geometryコンポーネントを使用しているグラスホッパー記事はこちら↓


Comment