
![[Grasshopper]2点からできる直線を格納・作成するLineの使い方](https://iarchway.com/wp-content/uploads/2024/09/eyecatch-15.png)
2点からできる直線を格納・作成する、Lineの使い方について解説します。
グラスホッパー上では上の2つのどちらかで表されます。
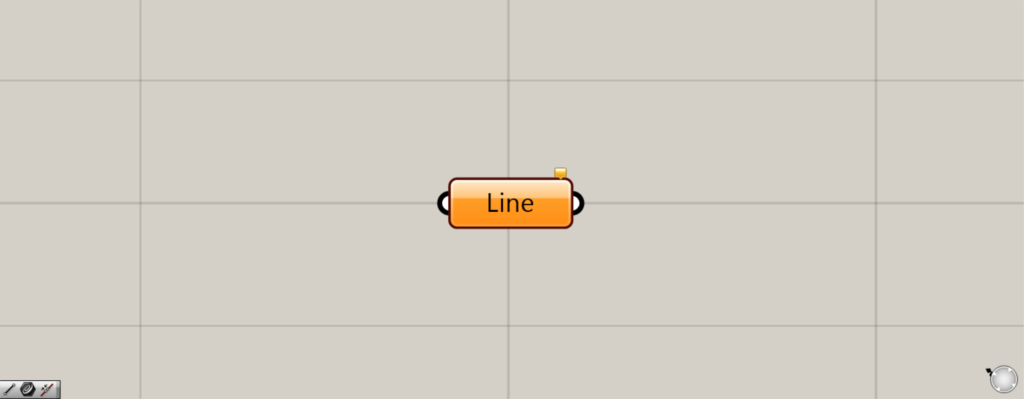
2点からできる直線を格納する
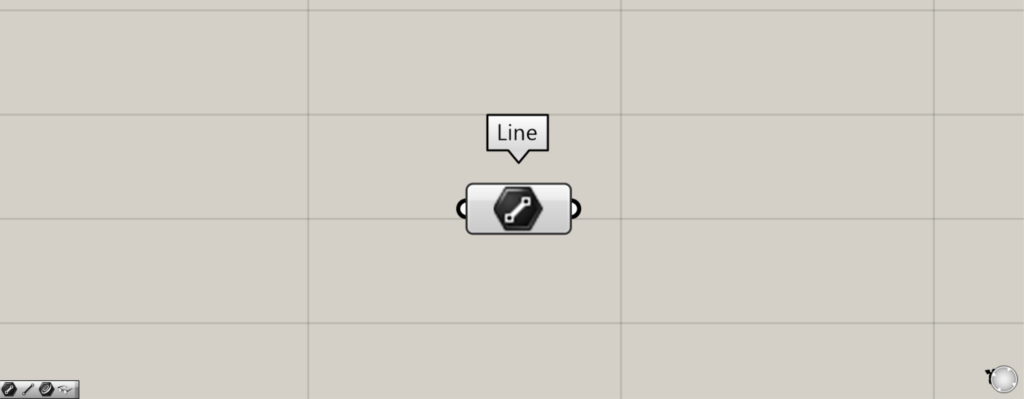
Lineを使うことで、2点からできる直線を格納することができます。
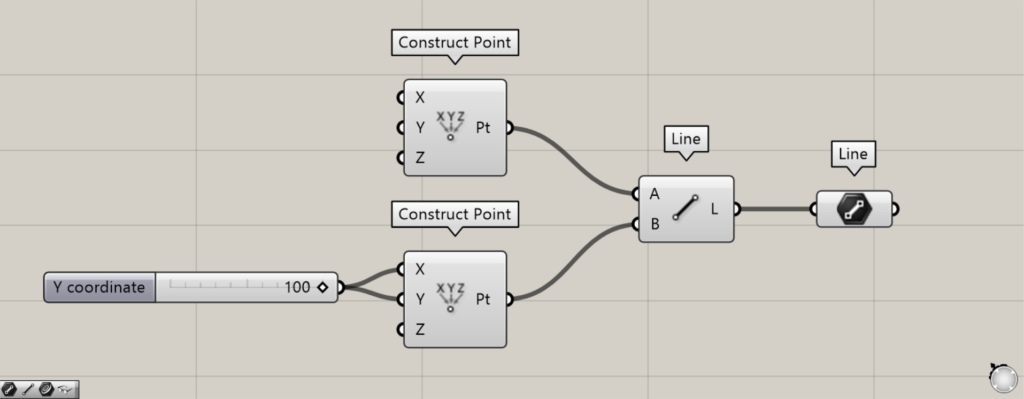
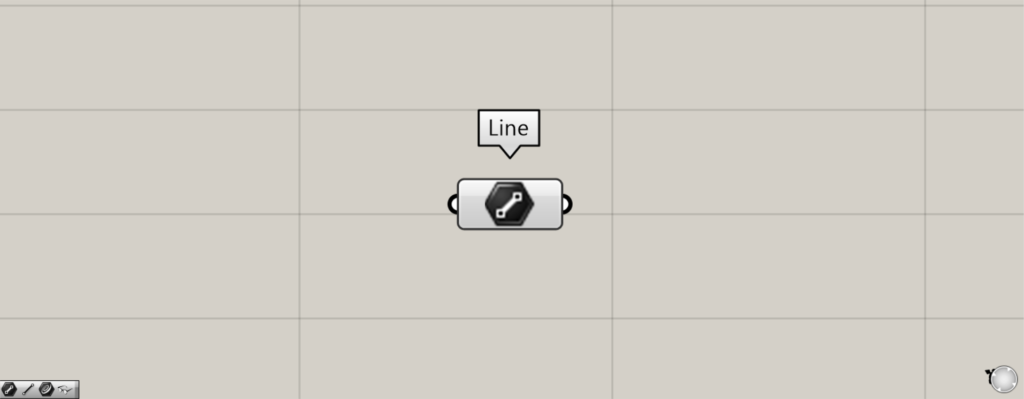
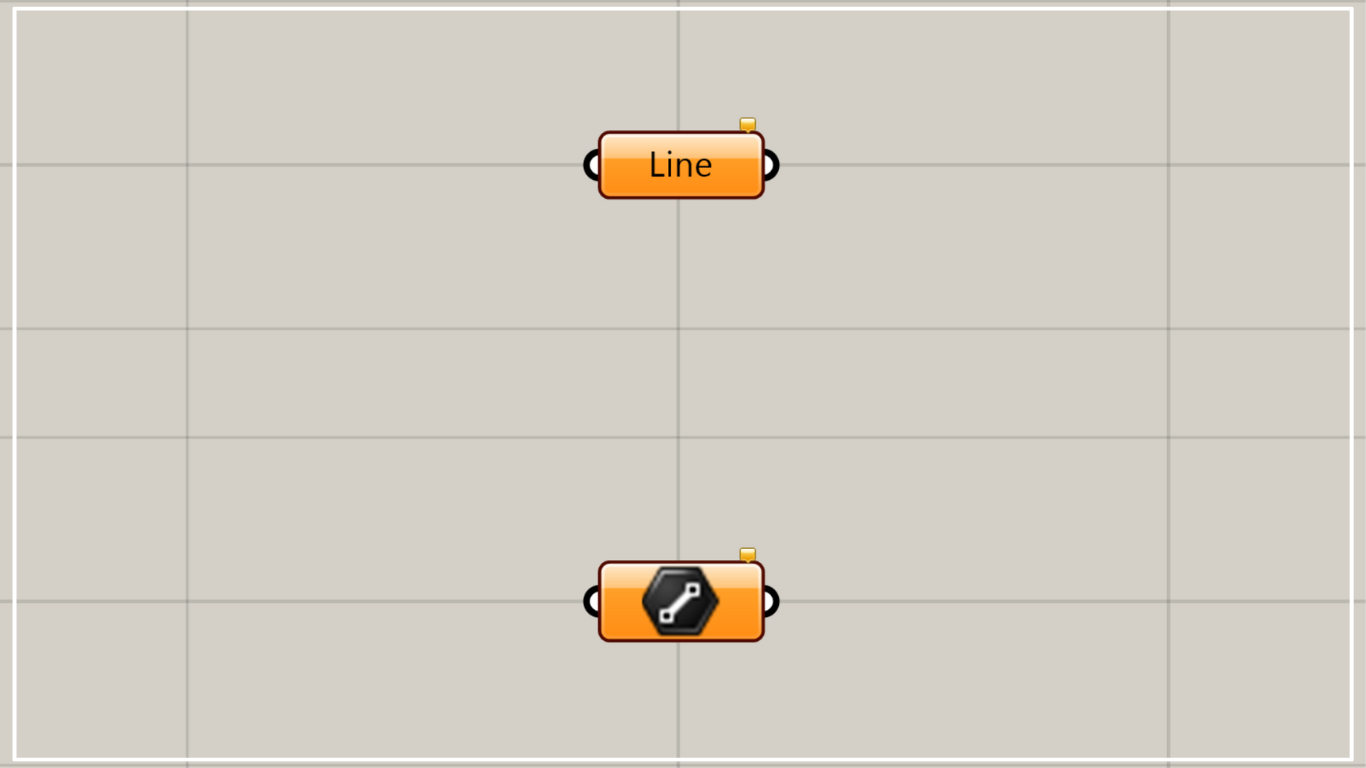
使用コンポーネント:①Construct Point ②Line ③Line
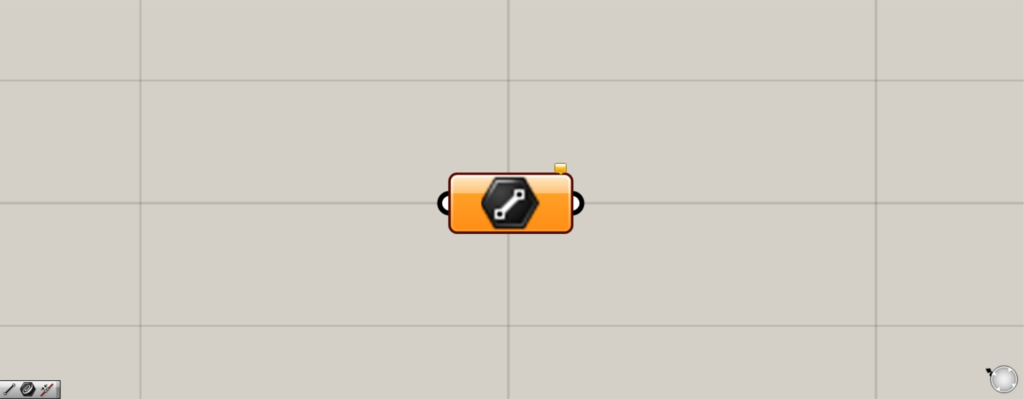
今回のLineの他に、同名のLineコンポーネントがあることに気を付けてください。
もう一方のLineは、2つの点から直線を作成するコンポーネントです。
それを踏まえて、2点からできる直線を格納する例を見てみましょう。
今回は、2つの点を作成し、その2つの点からできる直線を、今回のLineに格納します。
まずは、Construct Pointを2つ用意します。
何も数値を入力しない場合、0,0,0の原点の位置に点が作成されます。
今回は、2つの内1つのConstruct PointのXとY端子に100を入力することで、100,100,0の位置に点を作成しました。
その後、2つのConstruct Pointを、もう一方のLineのAとB端子につなげます。
すると、2つの点をつなぐ直線が作成されました。
最後に、もう一方のLineを今回のLineにつなげます。
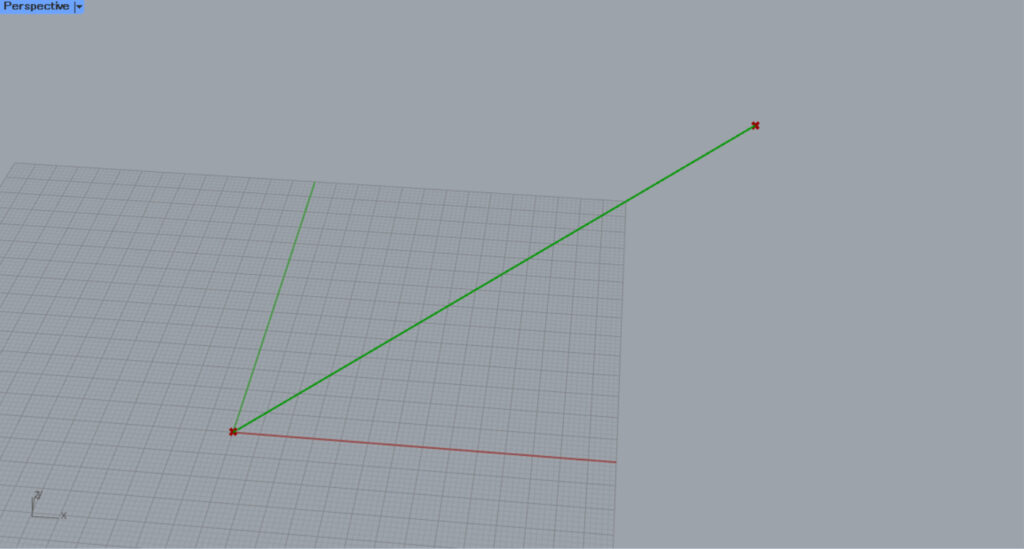
すると、このようにLineに直線が格納されました。
このように、2つの点からできる直線を、Lineに格納することができます。
連続する直線や曲線は格納できない
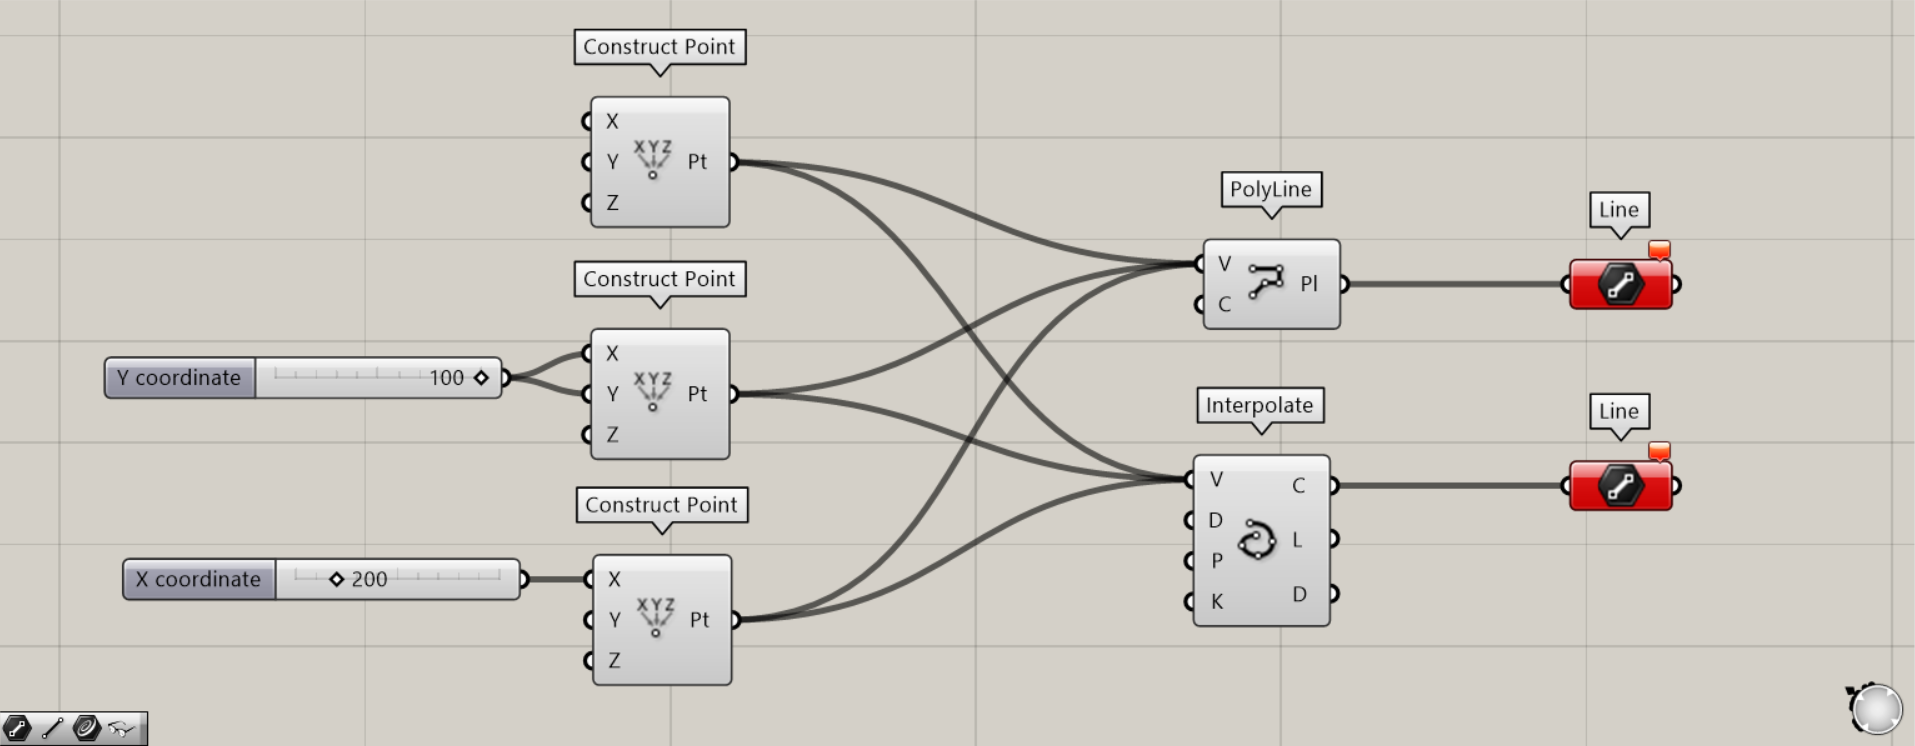
使用コンポーネント:①Construct Point ②PolyLine ③Interpolate ④Line
Lineには、連続する直線や曲線は格納することができません。
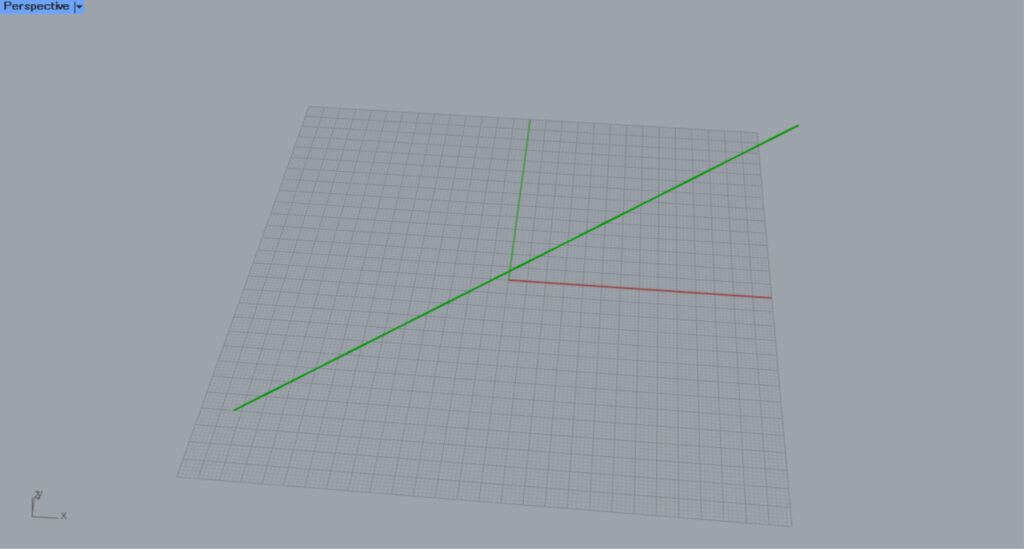
例として、3つの点を作成し、それらの点から連続する直線と曲線を作成してLineにつなげてみます。
まず、3つのConstruct Pointを用意します。
1つはデフォルト、2つ目のXとYには100、3つ目のXには200を入力しました。
すると、0,0,0と100,100,0と200,0,0の位置に点が作成されます。
その後、3つのConstruct Pointを、PolyLineとInterpolateのV端子にそれぞれつなげます。
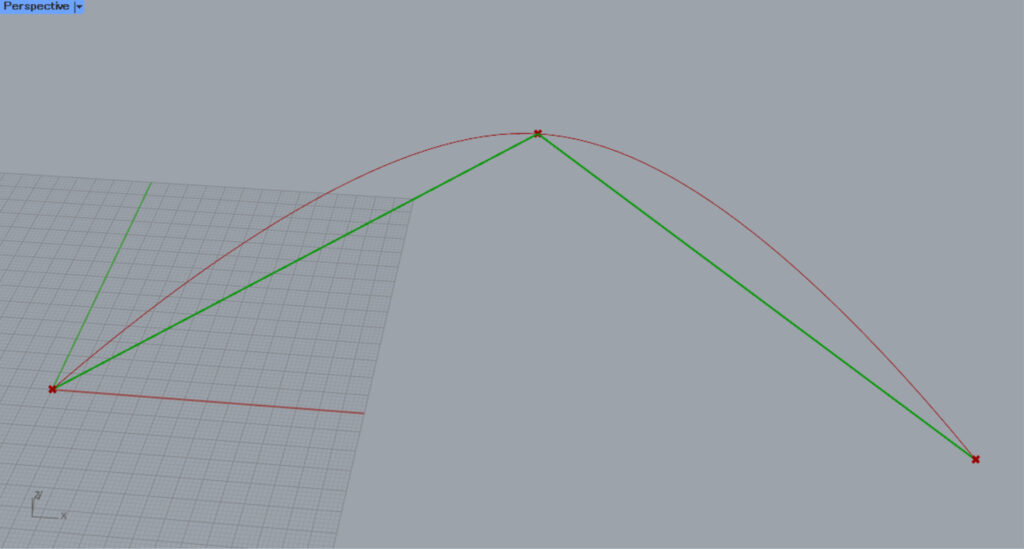
すると、連続する直線と曲線がそれぞれ作成されました。
その後、PolyLineとInterpolateをLineにそれぞれつなげます。
すると、Lineにエラーが表示されます。
これは、Lineが2点からできる直線のみを格納するからです。
この性質を活用することで、2点からできる直線と連続する直線や曲線を見分けることができるようになります。
Lineに直線を直接格納・作成する
Lineに直線を直接格納・作成することもできます。
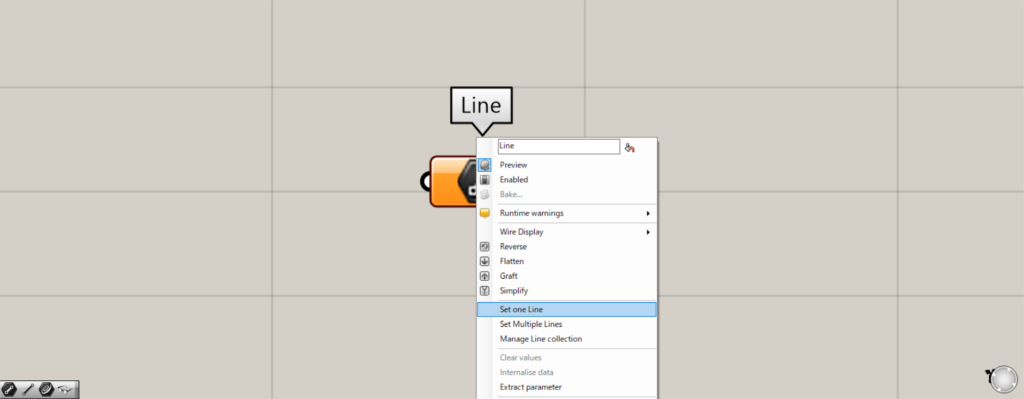
1つの直線の場合、Lineを右クリックし、Set one Lineを選択します。
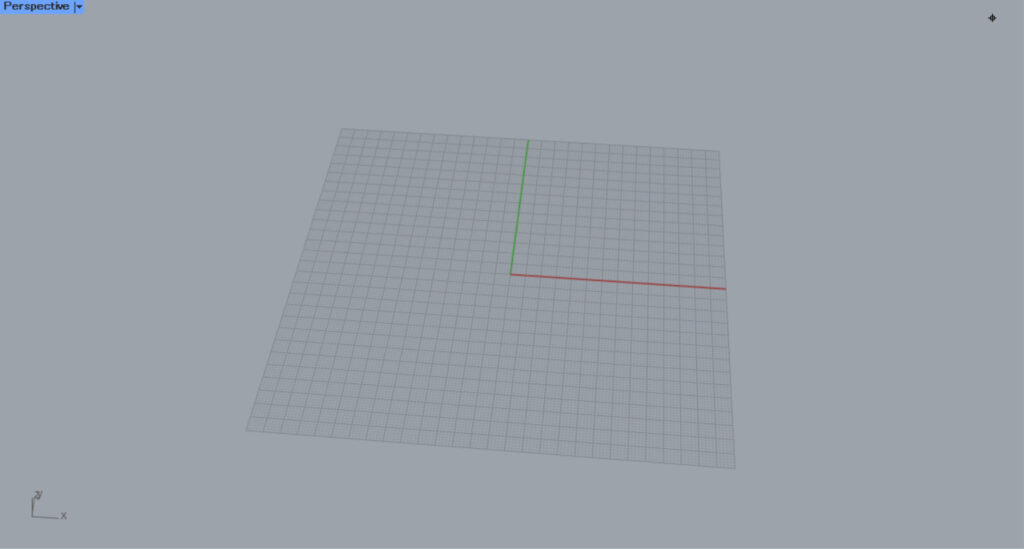
すると、ライノセラス上の画面になります。
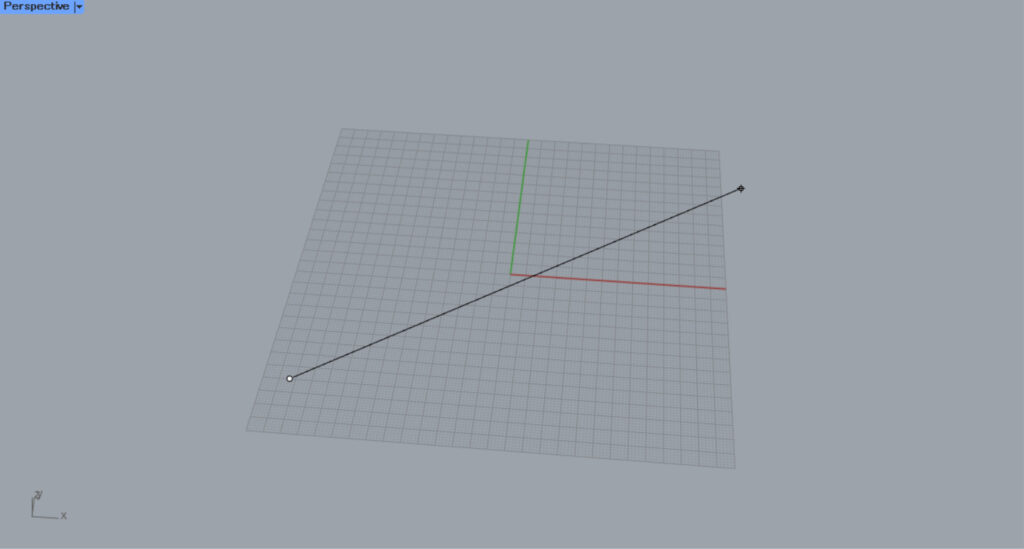
その後、ライノセラス上で2点指定します。
すると、直線が作成され、Lineに格納されました。
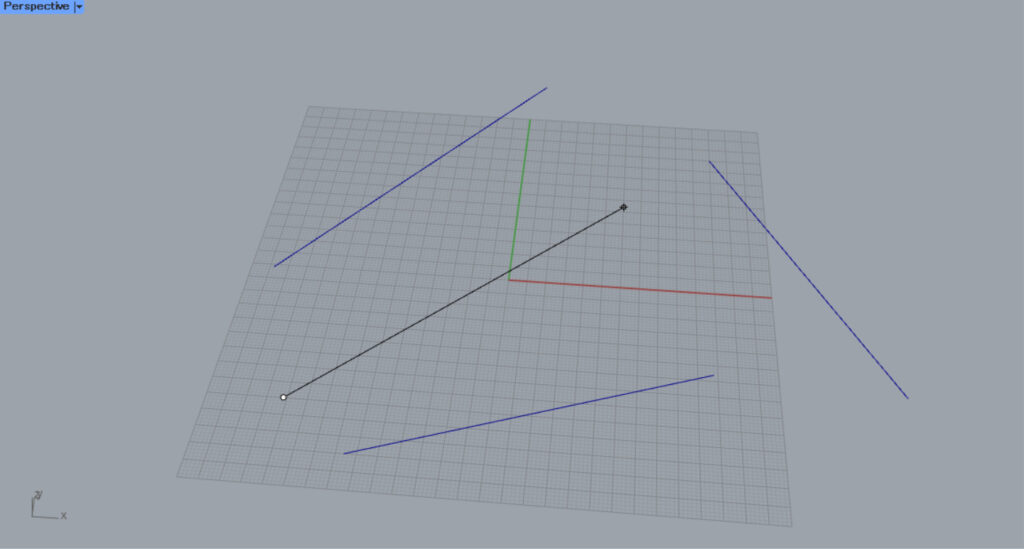
ライノセラス上の様子です。
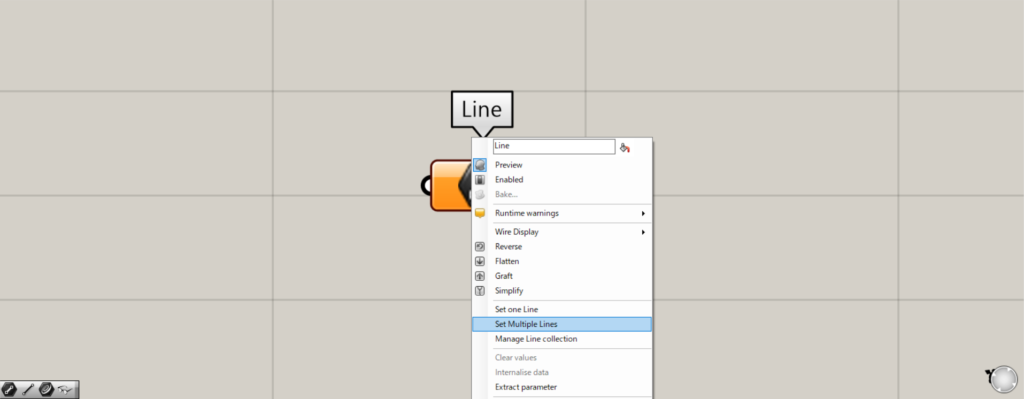
複数の直線を格納する場合、Lineを右クリックし、Set Multiple Linesを選択します。
その後、1つの時のように、ライノセラス上で複数の直線を作成します。
すると、複数の直線が作成され、Lineに格納されました。

ライノセラス上の様子です。
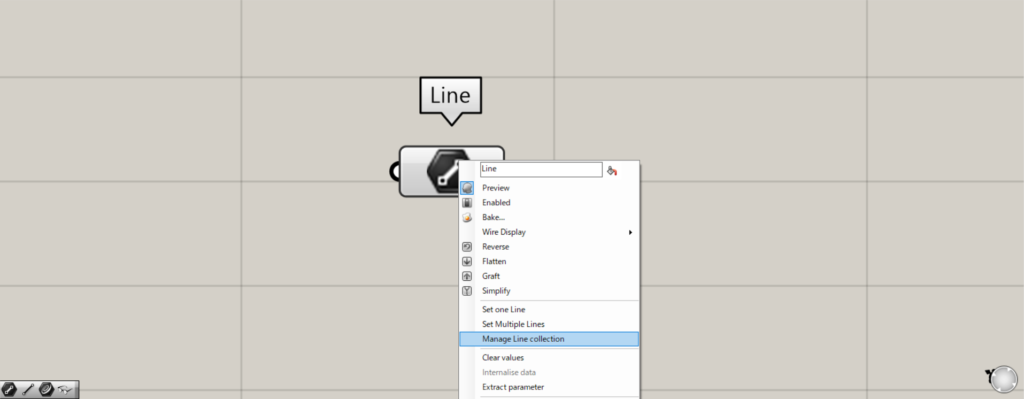
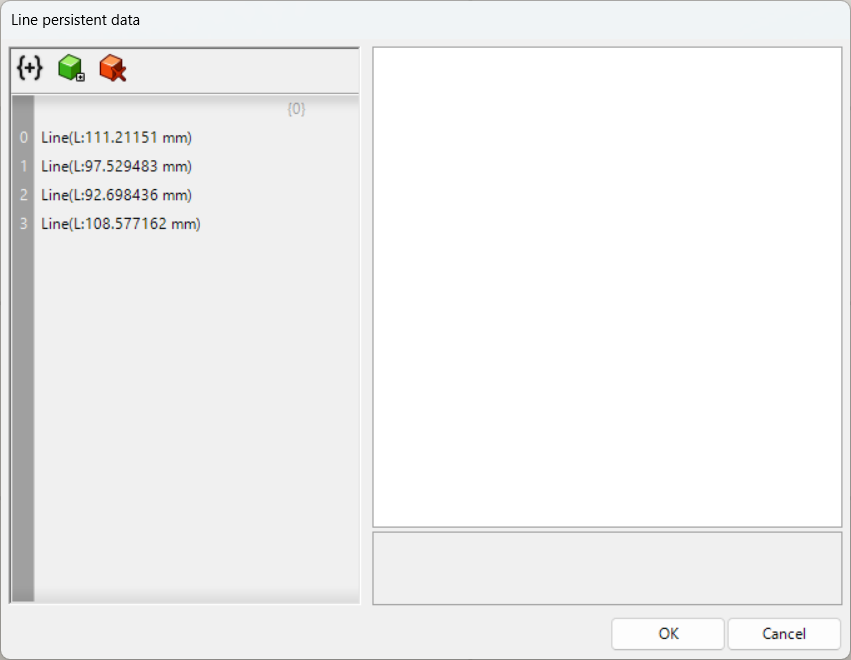
格納されている直線を管理・編集するには、Lineを右クリックし、Manage Line Collectionを選択します。
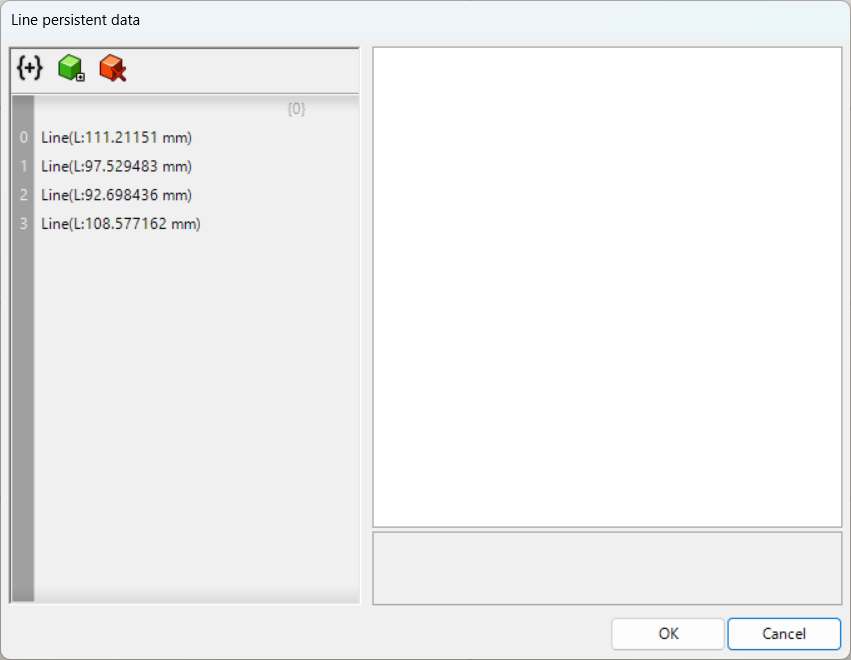
すると、このようなLineの設定画面が表示されます。
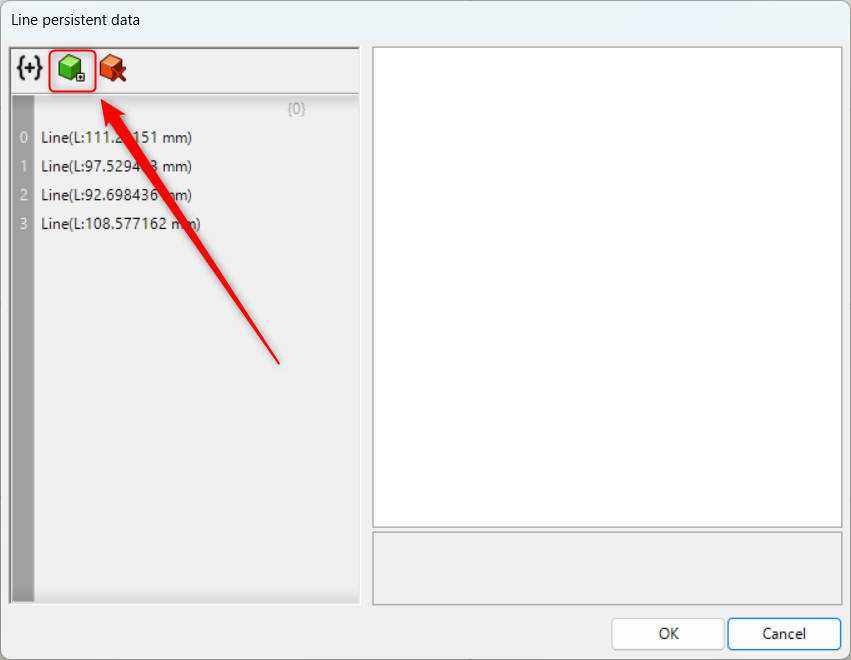
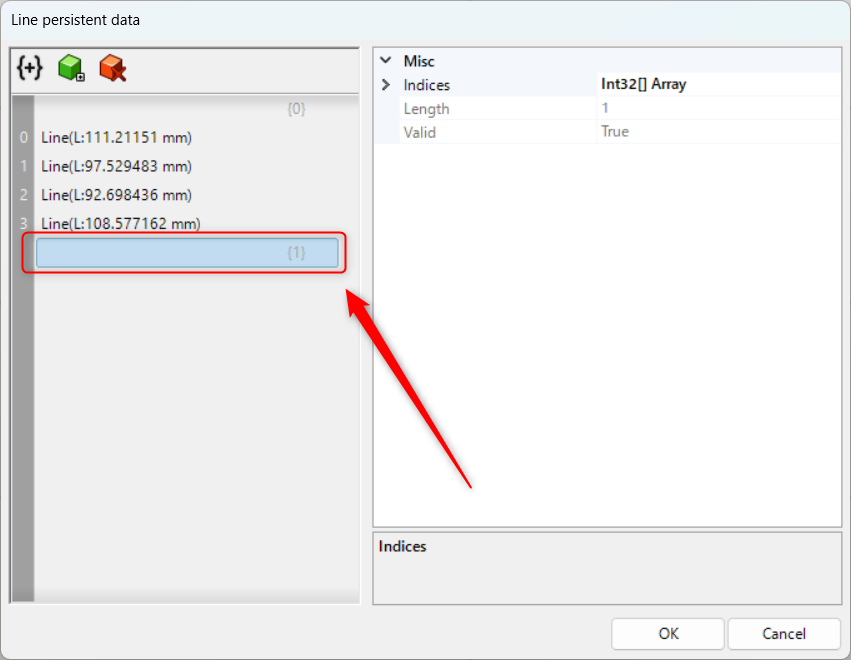
左上の緑のアイコンをクリックすると、直線を追加することができます。
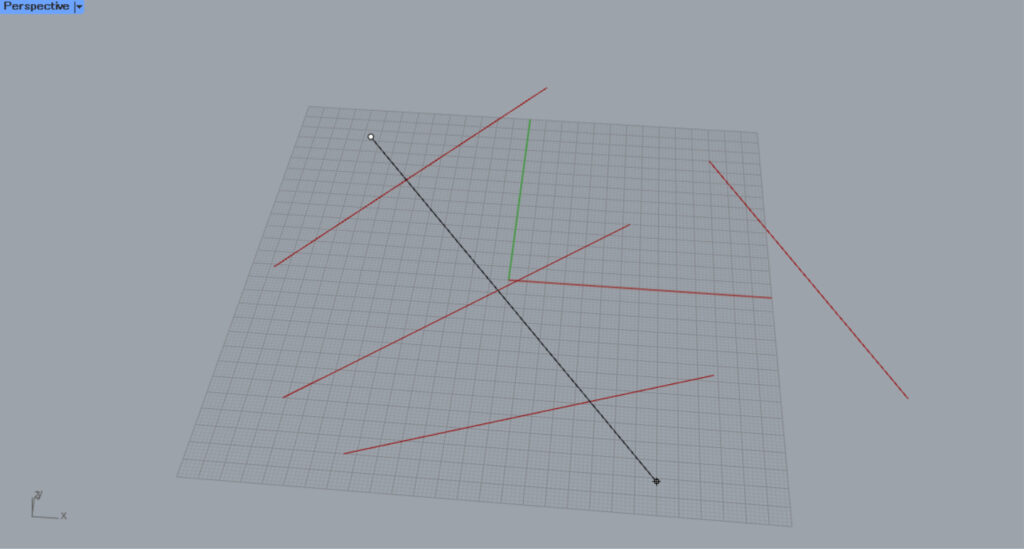
クリック後、ライノセラス上で直線を作成します。
すると、このように直線が追加されました。
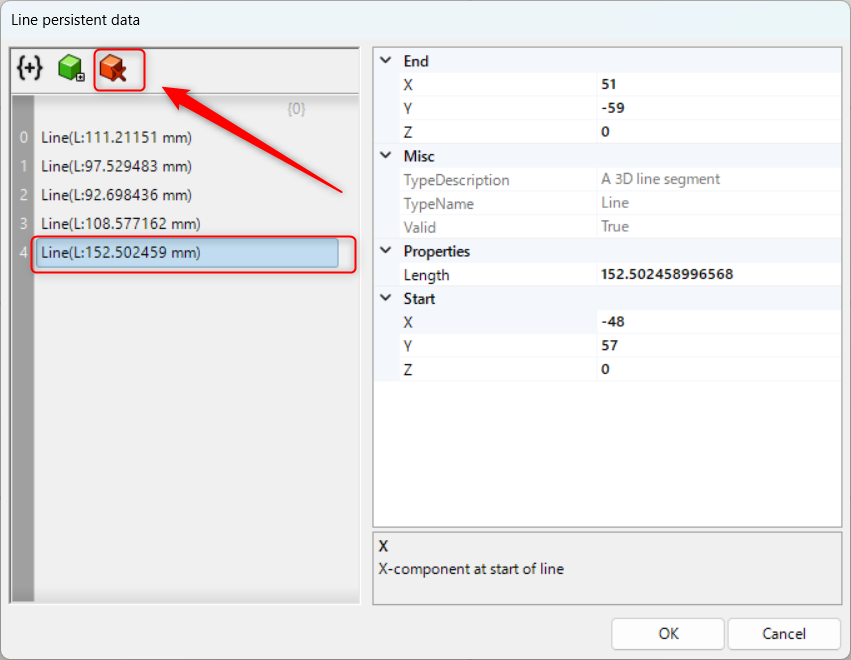
直線のデータを選択している状態で、左上の赤いアイコンをクリックすると、直線を削除することができます。
このように、直線が削除されました。

一番左上のアイコンをクリックすると、階層を作成することができます。
このように、階層が作成されました。
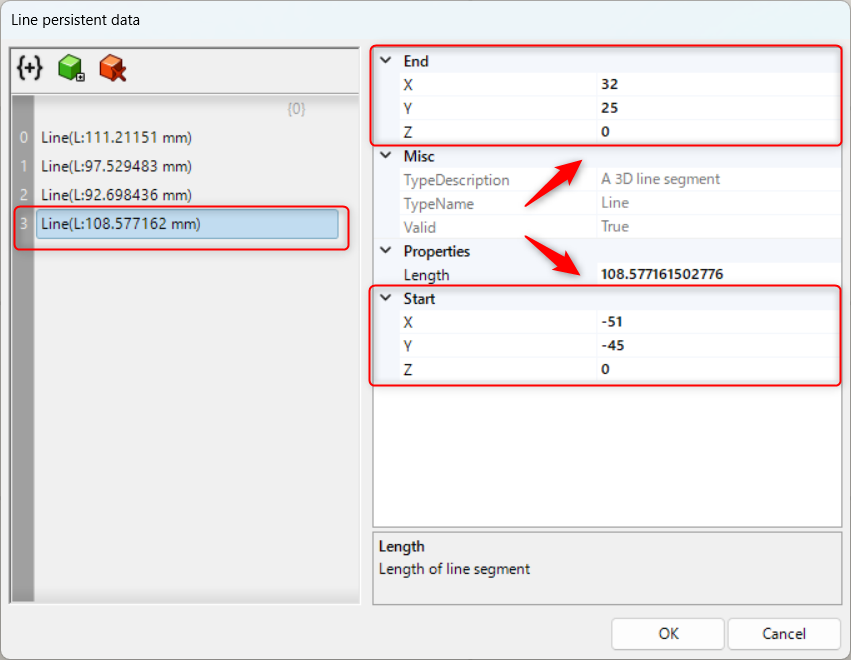
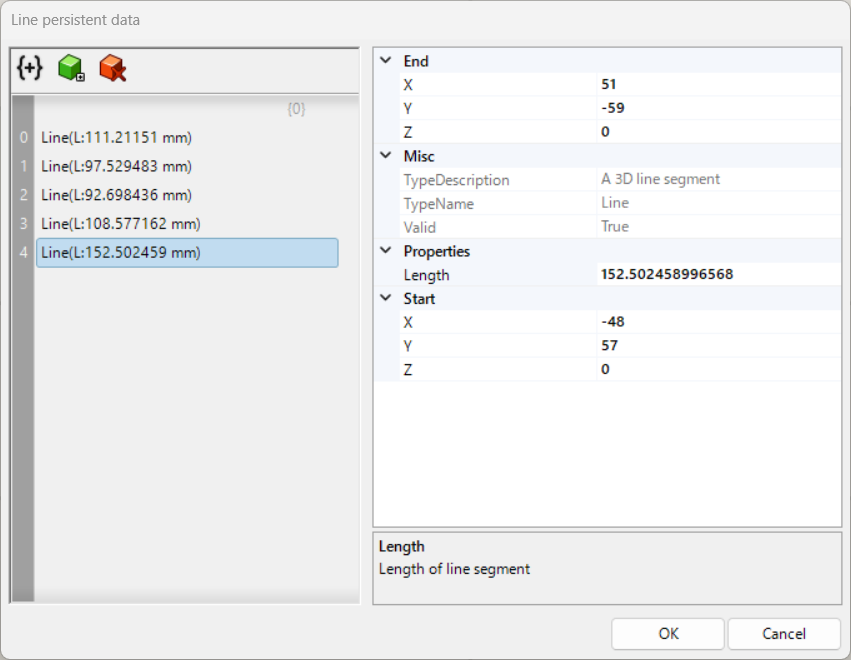
直線を選択している状態で、右側の画面でEndとStartのXYZの数値を変えると、直線の始点と終点の座標を編集することができます。
Lineコンポーネントを使用しているグラスホッパー記事はこちら↓


Comment