
![[Grasshopper]テキストを格納するText Entityの使い方](https://iarchway.com/wp-content/uploads/2024/10/eyecatch-26.png)
テキストを作成・格納する、Text Entityの使い方について解説します。
グラスホッパー上では上の2つのどちらかで表されます。
テキストを格納する
Text Entityを使うことで、テキストを格納することができます。
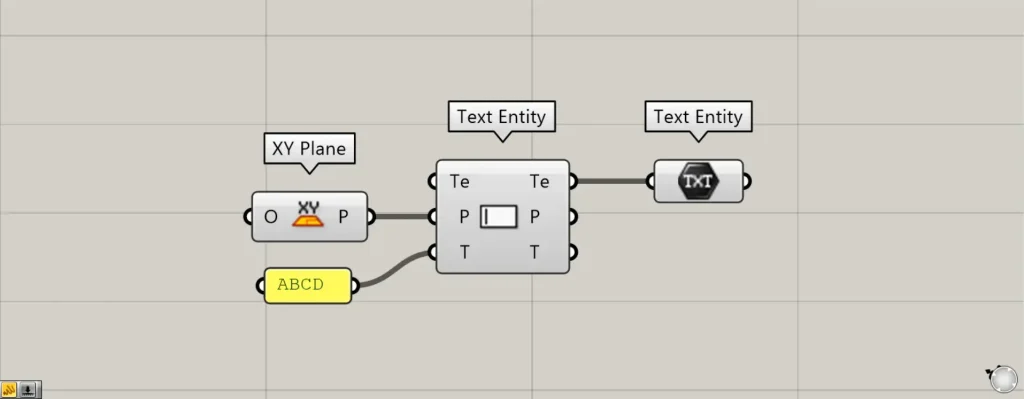
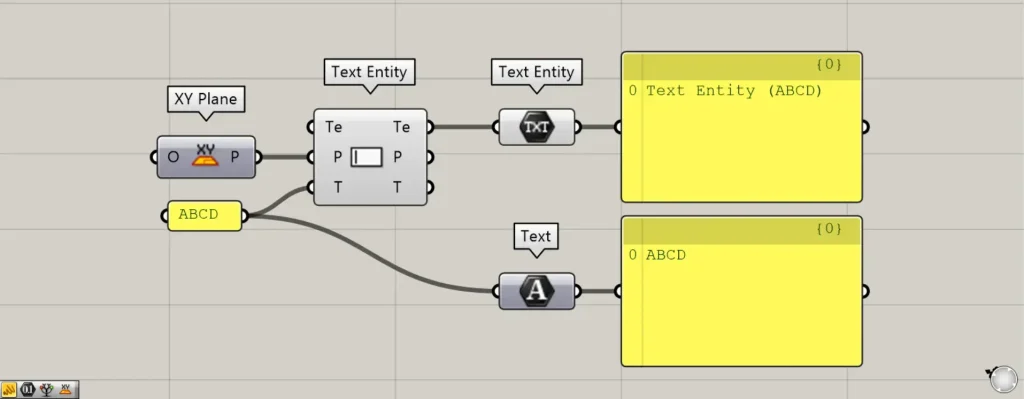
使用コンポーネント:①XY Plane ②Text Entity ③Text Entity
Text Entityは、もう1つの同名のコンポーネントがあることに注意してください。
もう1つのText Entityは、テキストを作成するコンポーネントになります。
今回は例として、2つのText Entityを使って解説します。
もう1つのText EntityのP端子に、テキストを作成する作業平面の情報を入力します。
今回は、XY Planeを入力しているため、X軸とY軸か作成される作業平面のデータをつなげています。
そして、1つのText EntityのT端子に、任意の文字情報を入力します。
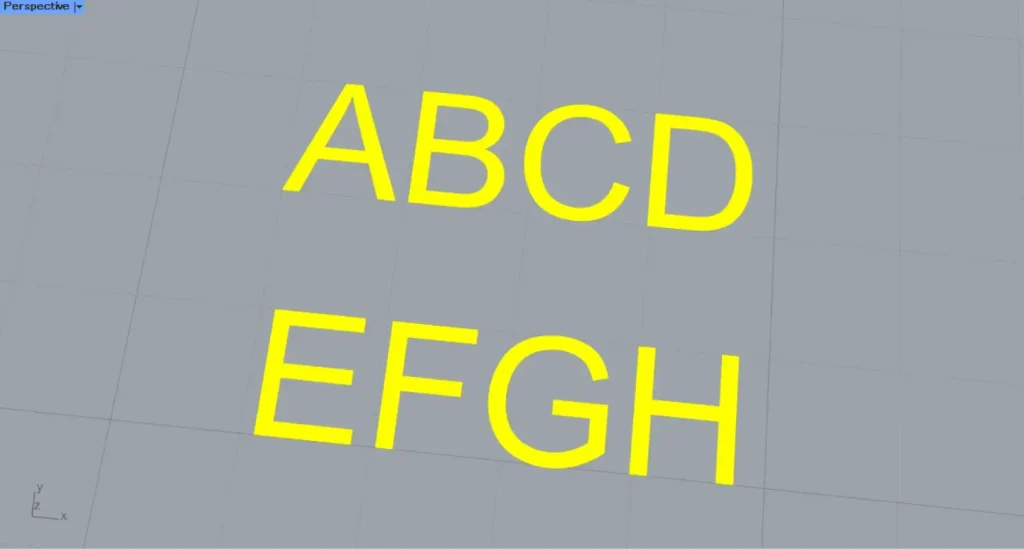
今回は、ABCDと入力しています。
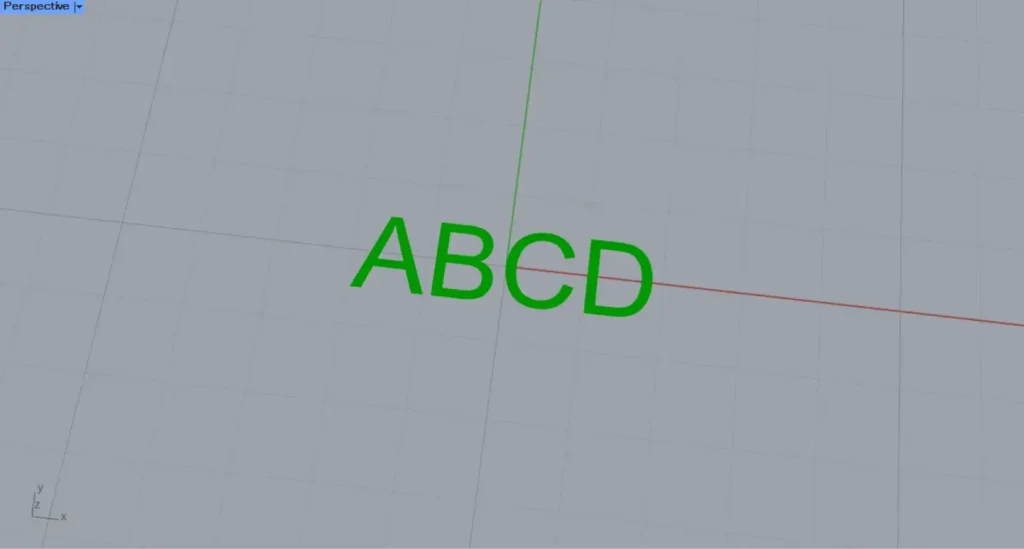
すると、入力した文字情報からテキストが作成されました。
その後、もう1つのText Entityの右側のTe端子を、今回のText Entityにつなげます。
すると、作成されたテキストが、今回のText Entityに格納されました。
このように、テキストを格納することができます。
Text EntityとTextの違い
追加コンポーネント:①Text
Text Entityに似ているコンポーネントとして、Textがあります。
Text Entityの場合は、実態のあるテキストデータです。
Textの場合は、ただの文字情報であり、実態はありません。
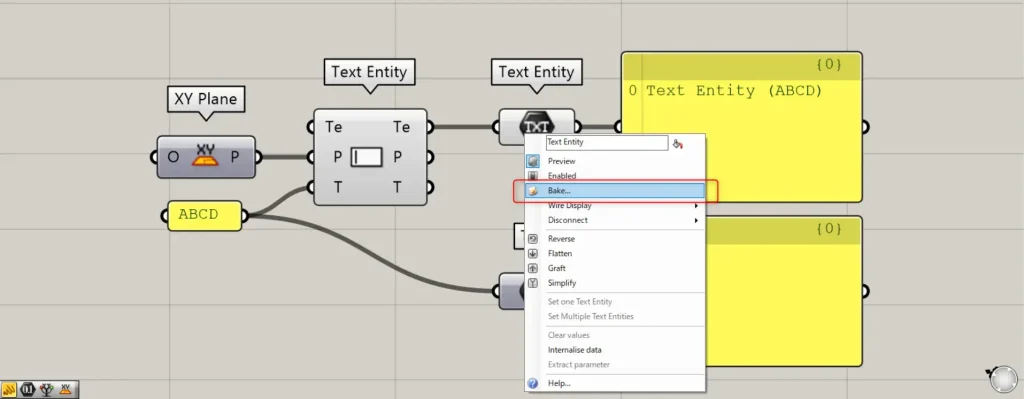
そのため、Text EntityではBakeを使えるので、ライノセラス上に書き出せます。

一方でTextの場合、文字の情報だけなので、ライノセラス上にBakeで書き出すことはできません。
ライノセラス上のテキストを格納する
ライノセラス上のテキストを格納することもできます。
最初は、ライノセラス上の1つのテキストを格納してみます。
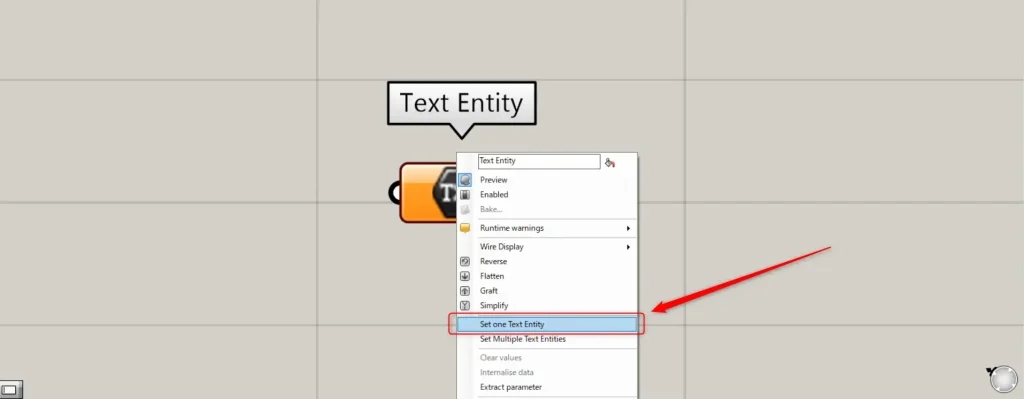
1つの場合、Text Entityを右クリックし、Set one Text Entityを選択します。

すると、ライノセラス上の画面に切り替わります。
その後、格納したいテキストを選択します。
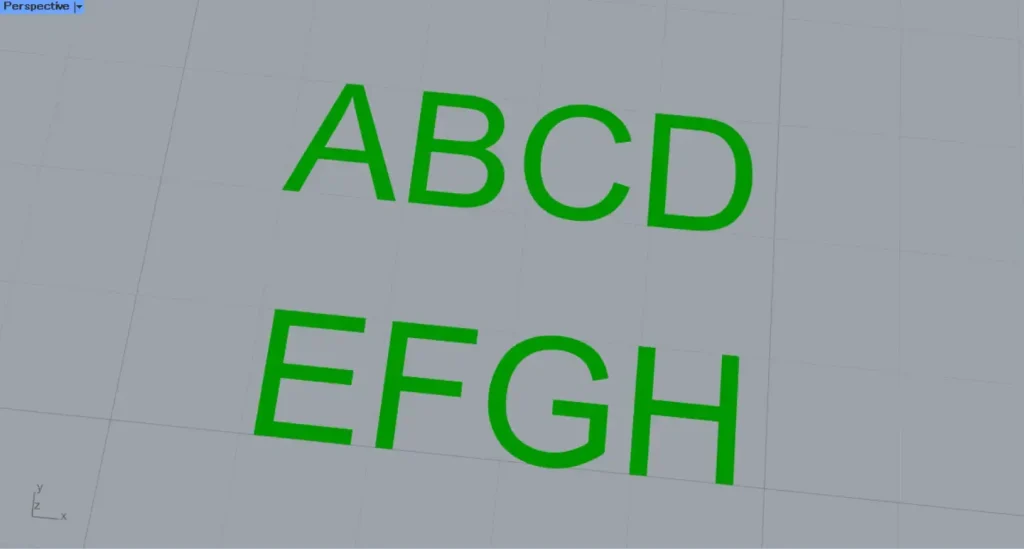
すると、ライノセラス上の1つのテキストが、Text Entityに格納されました。
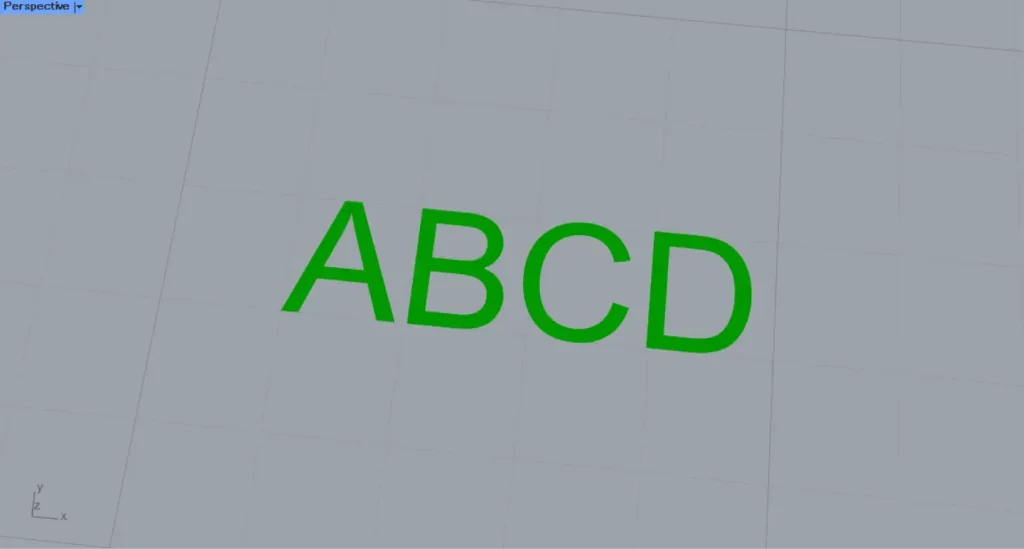
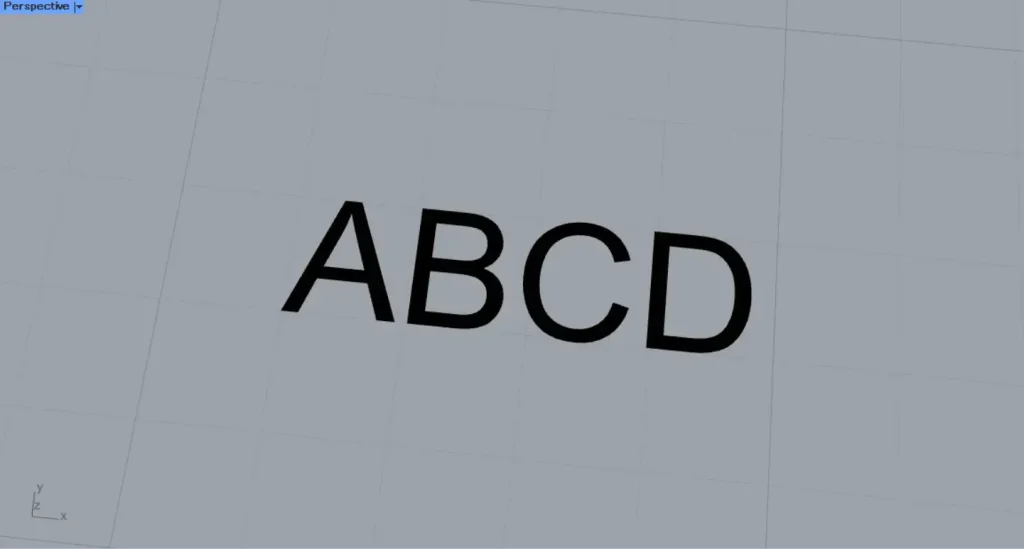
ライノセラス上の様子です。
次は、ライノセラス上の複数のテキストを格納してみます。
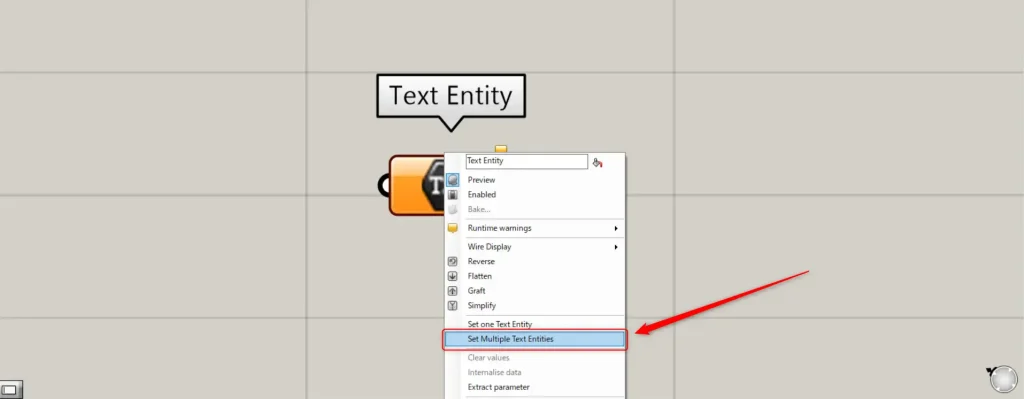
複数の場合、Text Entityを右クリックし、Set Multiple Text Entitiesを選択します。
その後、ライノセラス上で複数のテキストを選択します。
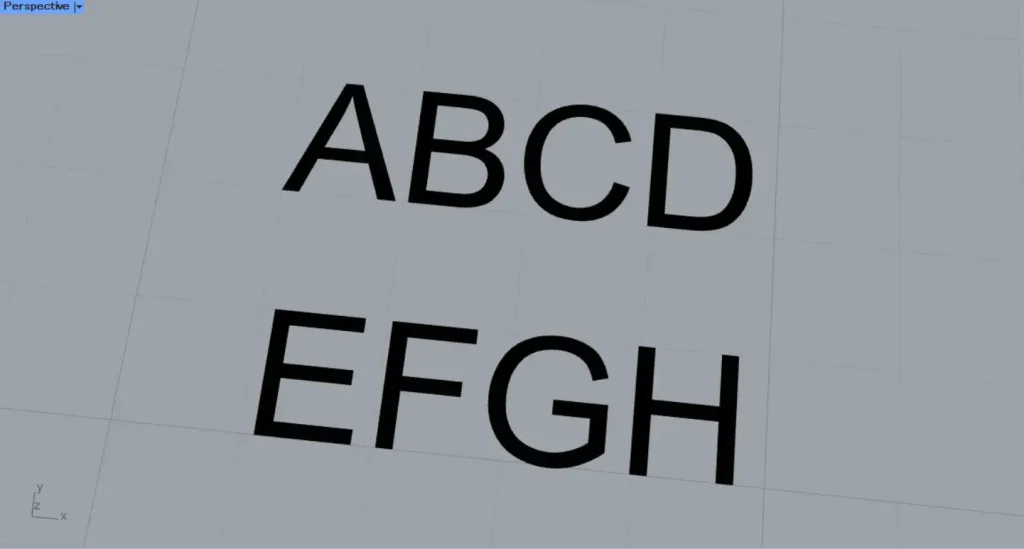
すると、ライノセラス上の複数のテキストが、Text Entityに格納されました。
ライノセラス上の様子です。
Text Entityコンポーネントを使用しているグラスホッパー記事はこちら↓


Comment