
![[Grasshopper]中心マーク寸法を格納するCentermarkの使い方](https://iarchway.com/wp-content/uploads/2024/10/eyecatch-8.png)
中心マーク寸法を格納する、Centermarkの使い方について解説します。
グラスホッパー上では上の2つのどちらかで表されます。
中心マーク寸法を格納する
Centermarkを使うことで、中心マーク寸法を格納することができます。
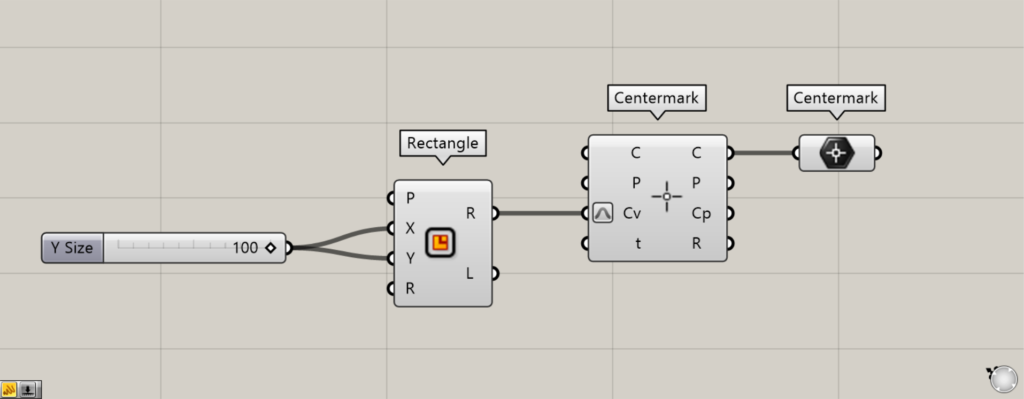
使用コンポーネント:①Rectangle ②Centermark ③Centermark
Centermarkには、もう1つ、同名のコンポーネントがあるのに注意してください。
もう一方のCentermarkは、中心マーク寸法を作成するコンポーネントです。
例として、2つのCentermarkを使って解説していきます。
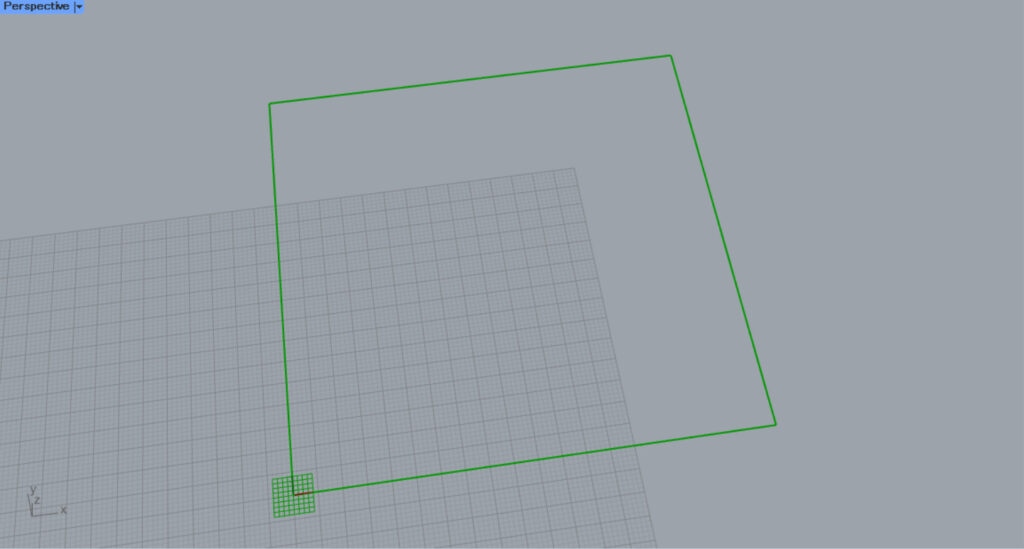
今回は、RectangleのXとY端子に100を入力し、100×100の正方形を作成しました。
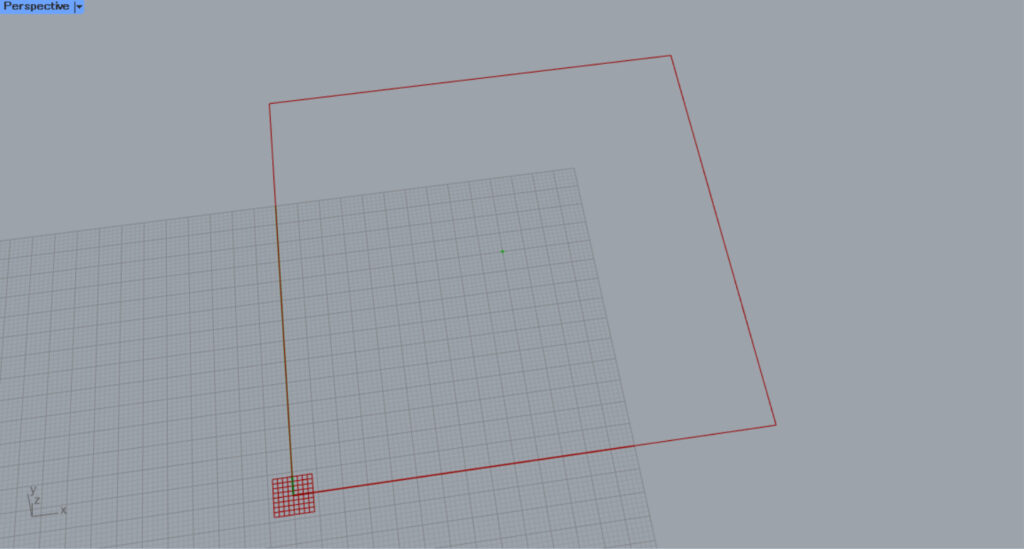
その後、RectangleのR端子を、もう1つのCentermarkのCv端子につなげます。
すると、四角形の中心に、中心マーク寸法が作成されます。
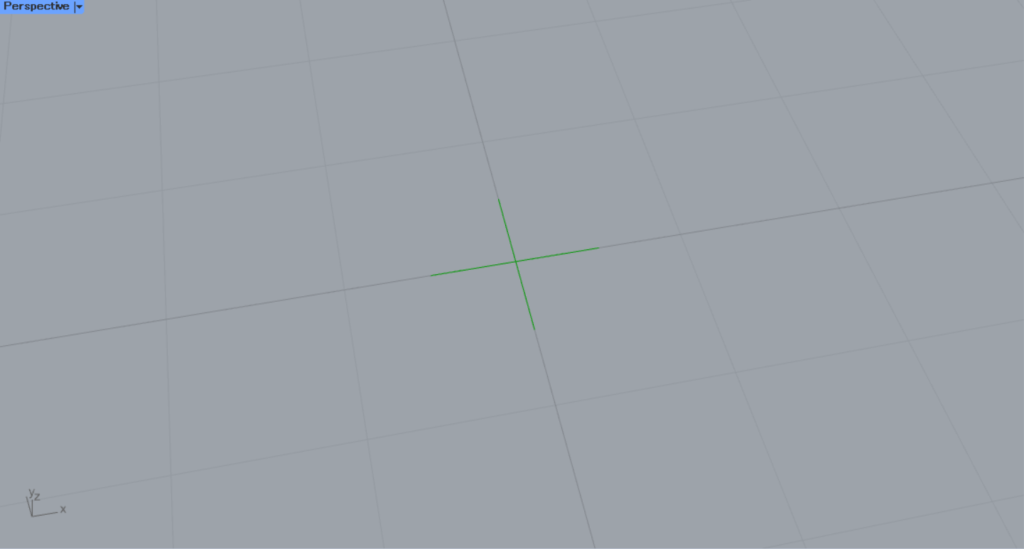
ズームして見ると、このように中心マーク寸法が作成されていることが分かります。
その後、もう1つのCentermarkのC端子を、今回のCentermarkつなげます。
すると、作成された中心マーク寸法が、今回のCentermarkに格納されます。
このように、Centermarkを使うことで、中心マーク寸法を格納することができます。
ライノセラス上の中心マーク寸法を格納する
ライノセラス上の中心マーク寸法を格納してみます。
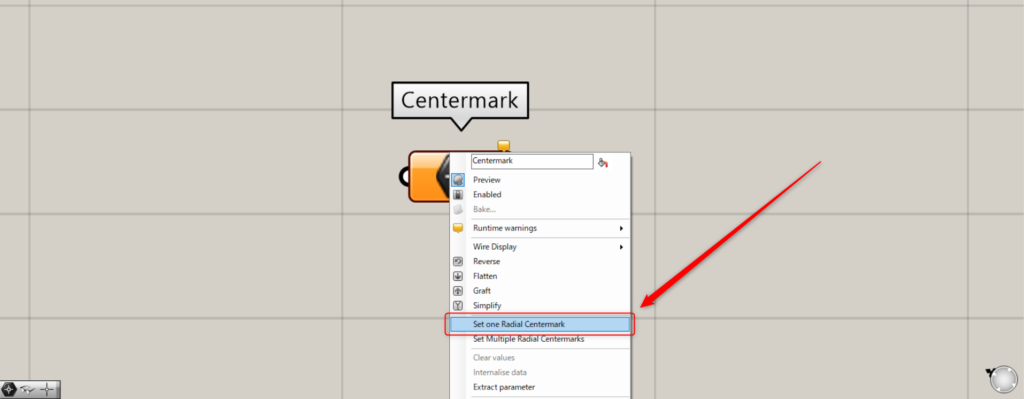
通常の格納方法では、Centermarkを右クリックし、1つの場合はSet one Radial Centermark、2つの場合はSet Multiple Radial Centermarksを選択していました。
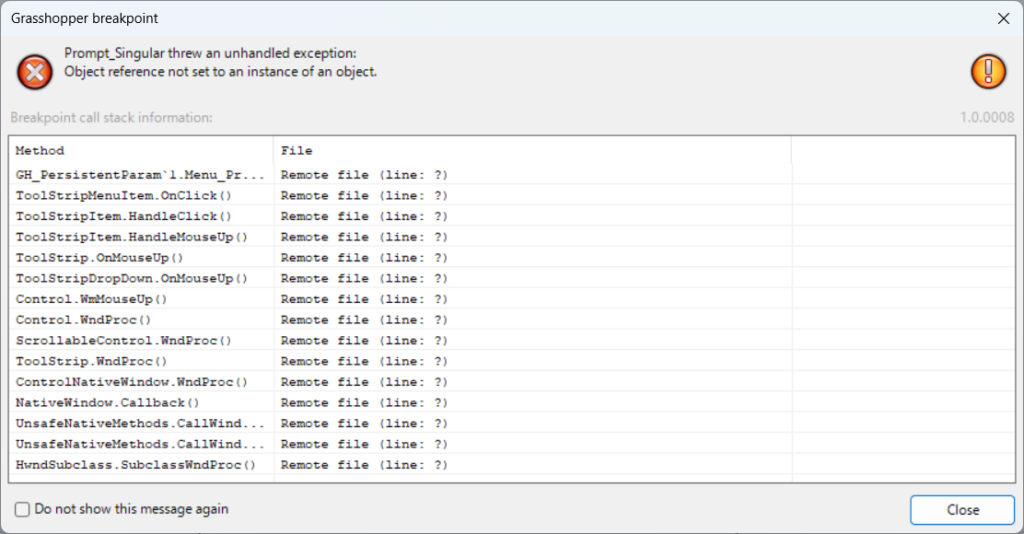
しかし、2026年現在ではエラーが表示されてしまい、Centermarkに中心マーク寸法を格納することができません。
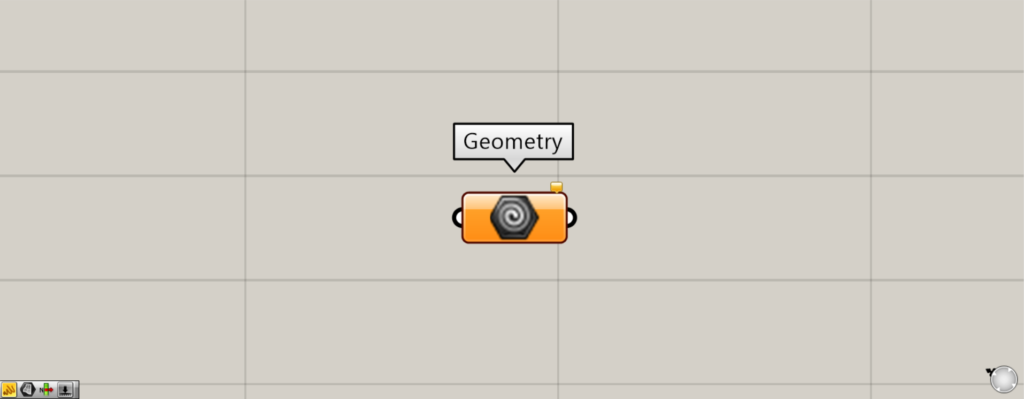
使用コンポーネント:①Geometry
そこで、代わりに様々な種類のデータを格納できる、Geometryを使います。
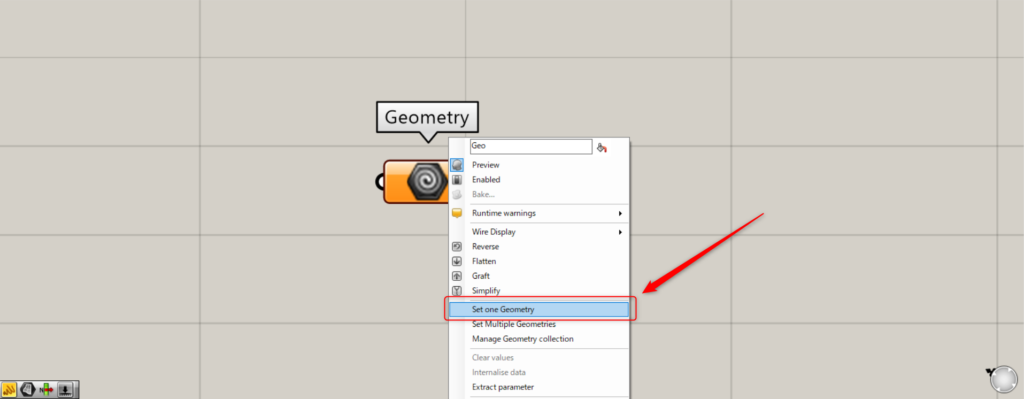
1つの中心マーク寸法を格納する場合、Geometryを右クリックし、Set one Geometryを選択します。

すると、ライノセラス上の画面に切り替わります。
そして、格納したい中心マーク寸法を選択します。
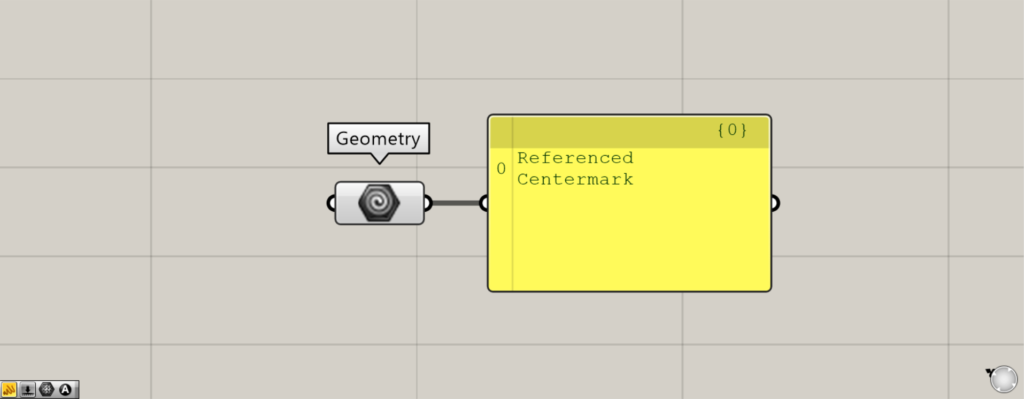
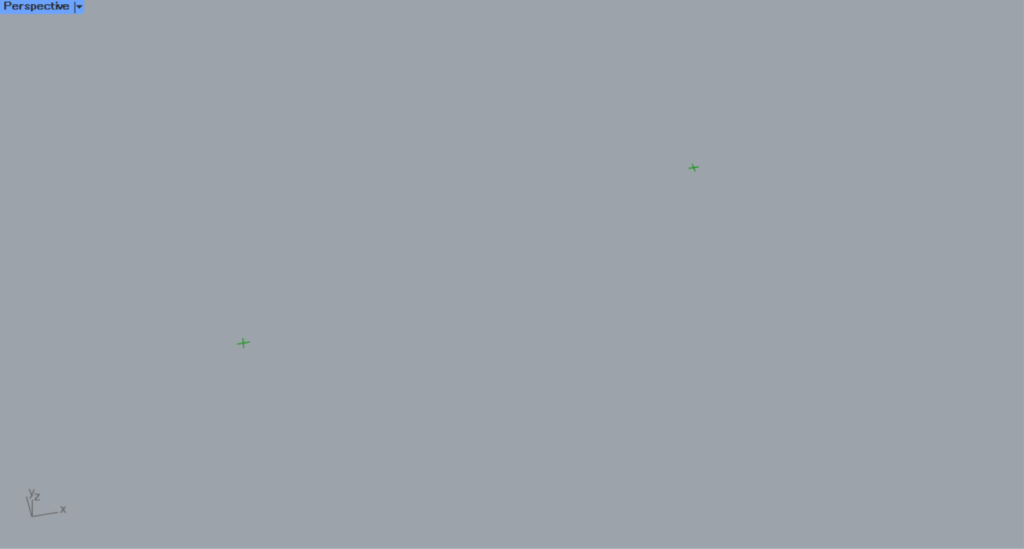
すると、中心マーク寸法がGeometryに格納されました。
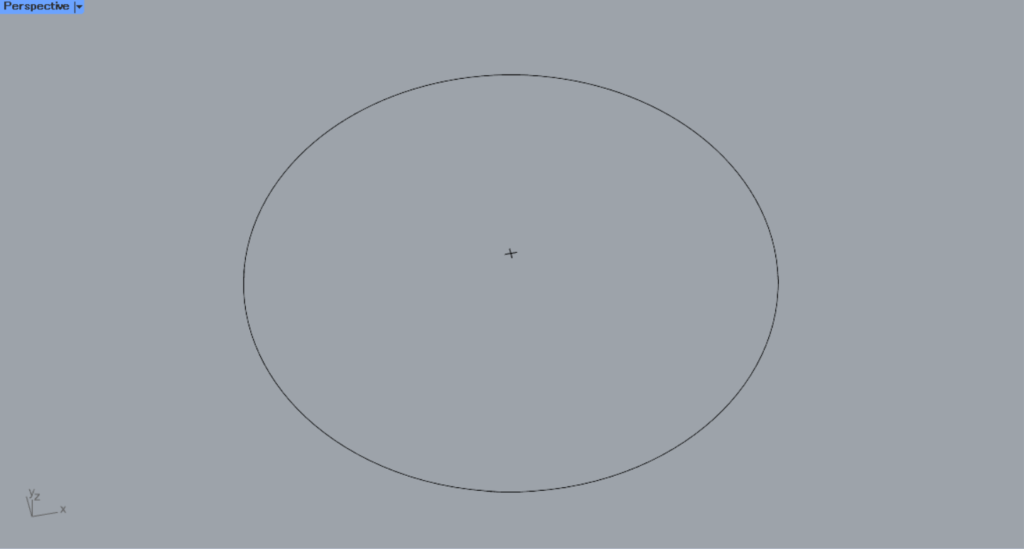
ライノセラス上の様子です。
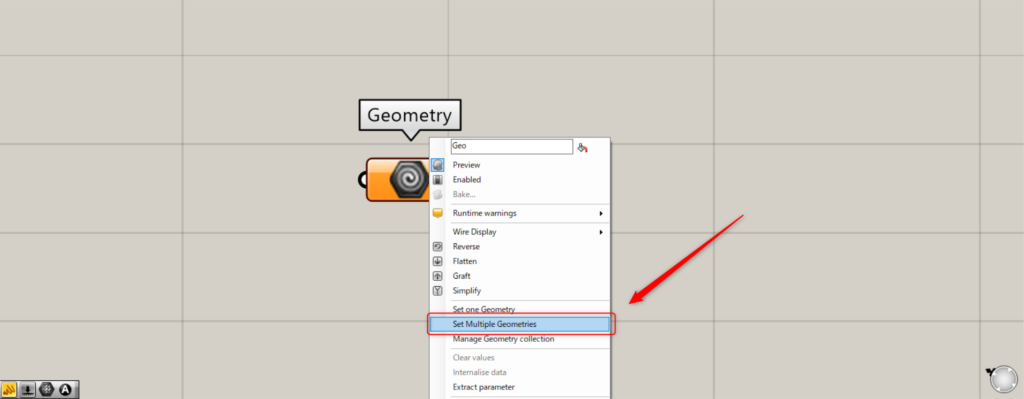
複数の中心マーク寸法の場合、Geometryを右クリックし、Set Multiple Geometriesを選択します。
その後、ライノセラス上で複数の中心マーク寸法を選択します。

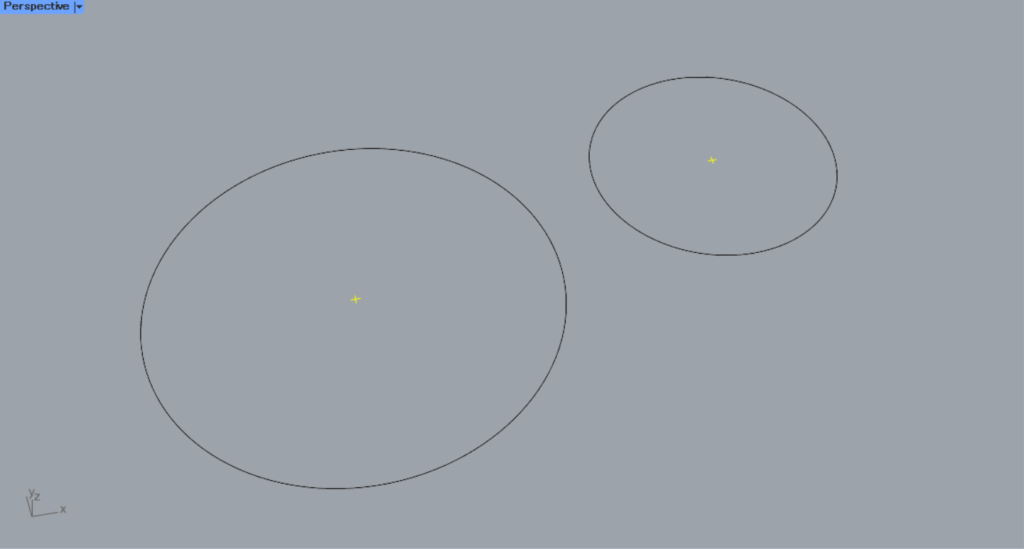
すると、このように複数の中心マーク寸法が格納されました。
ライノセラス上の様子です。
Centermarkコンポーネントを使用しているグラスホッパー記事はこちら↓


Comment