
![[Grasshopper]テキストを作成するText Entityの使い方](https://iarchway.com/wp-content/uploads/2024/10/eyecatch-29.png)
テキストを作成する、Text Entityの使い方について解説します。
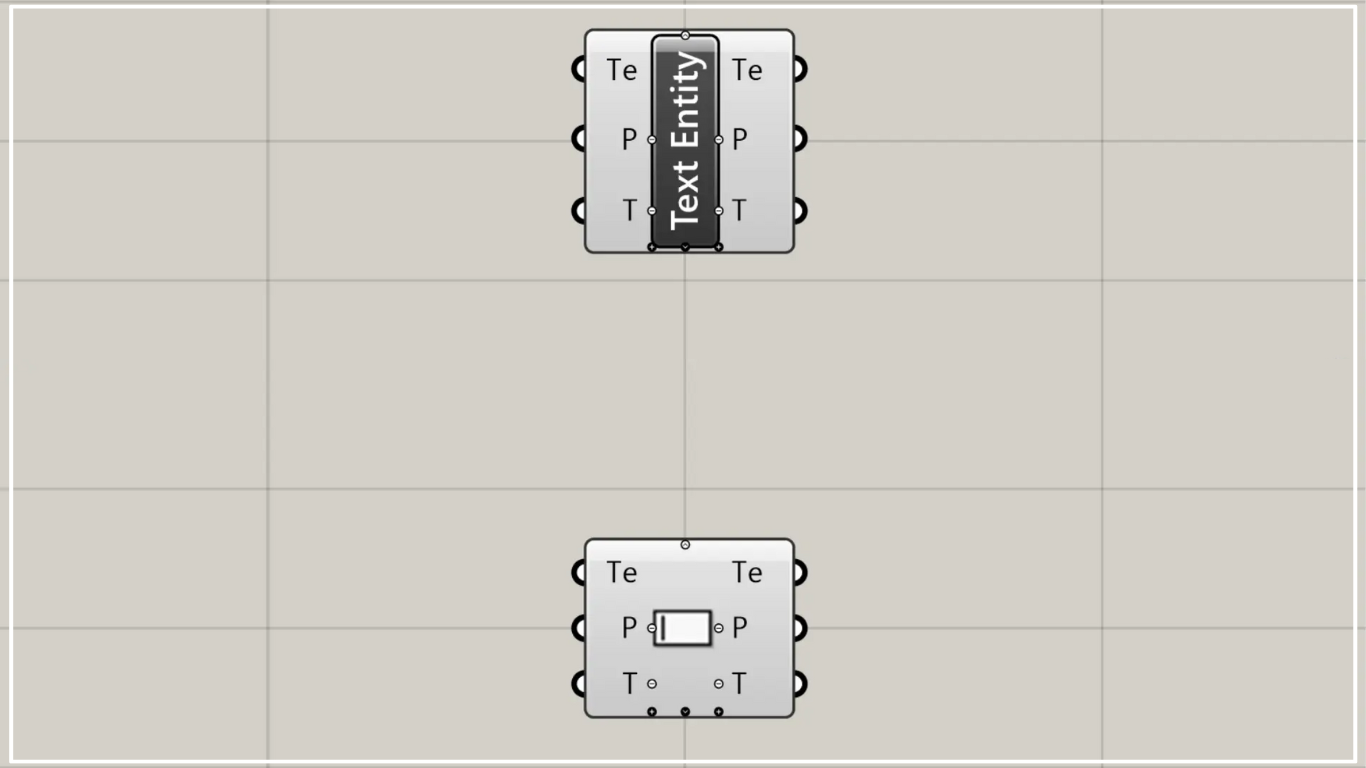
グラスホッパー上では上の2つのどちらかで表されます。
テキストを作成する
Text Entityを使うことで、テキストを作成することができます。
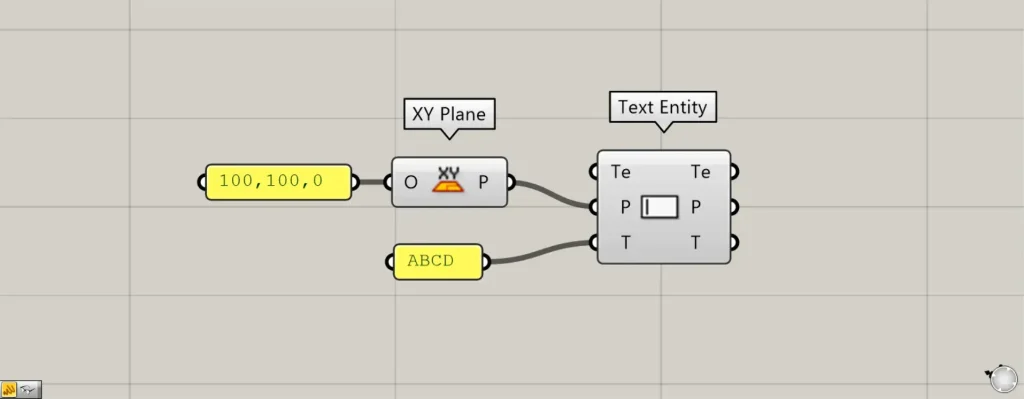
使用コンポーネント:①XY Plane ②Text Entity
Text EntityのP端子には、作業平面や座標の情報を入力します。
今回は、100,100,0の座標をXY Planeにつなげることで、100,100,0の位置に、XとY軸からできる作業平面の情報を作成しました。
そして、XY PlaneをText EntityのP端子につなげました。
T端子には、任意の文字情報を入力します。
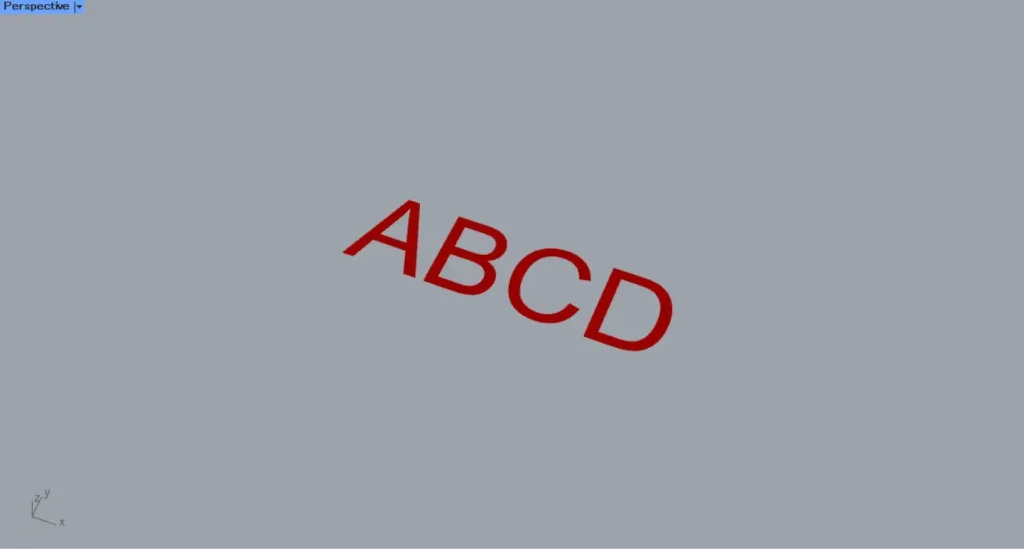
今回は、ABCDというテキスト情報を入力しました。
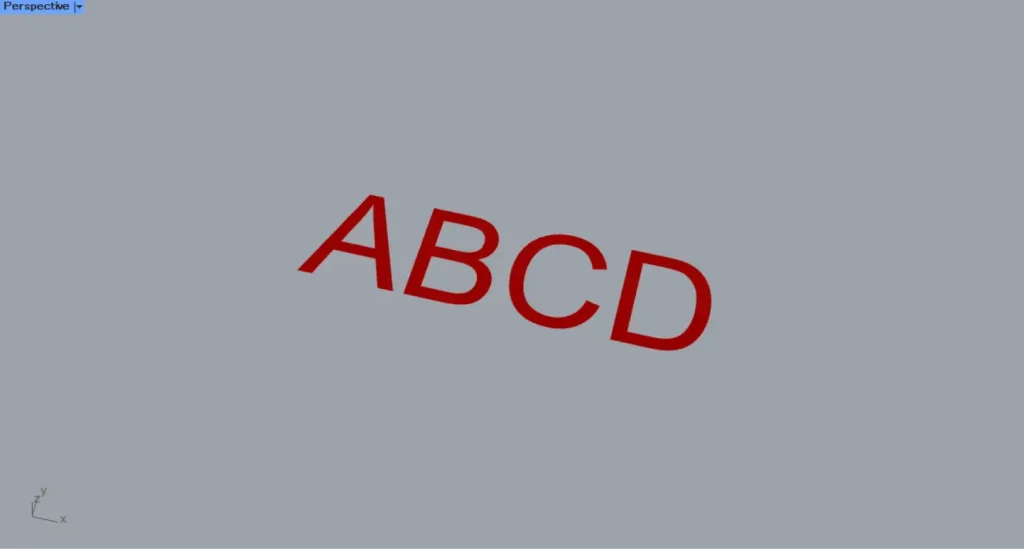
すると、このように指定した文字のテキストが作成されました。
このように、Text Entityでテキストを作成することができます。
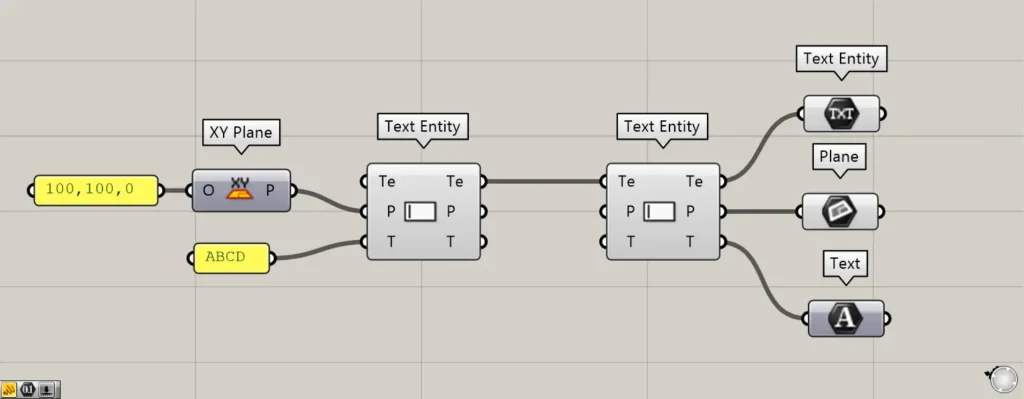
追加コンポーネント:①Text Entity ②Plane ③Text
また、Text EntityのTe端子に、既存の作成されたテキストをつなげると、テキストを構成する各要素のデータを取得することができます。
テキストの詳細設定をする
テキストの詳細設定をすることもできます。

Text Entityコンポーネントに向かってズームすると、+と矢印のアイコンが下側に表示されます。
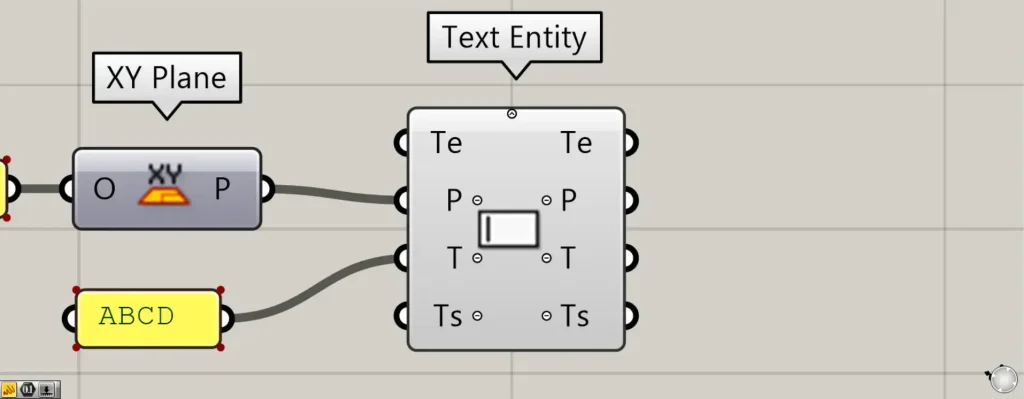
これらのアイコンを押すことで、テキストの詳細設定に使用できる、新たなTs端子を表示させることができます。
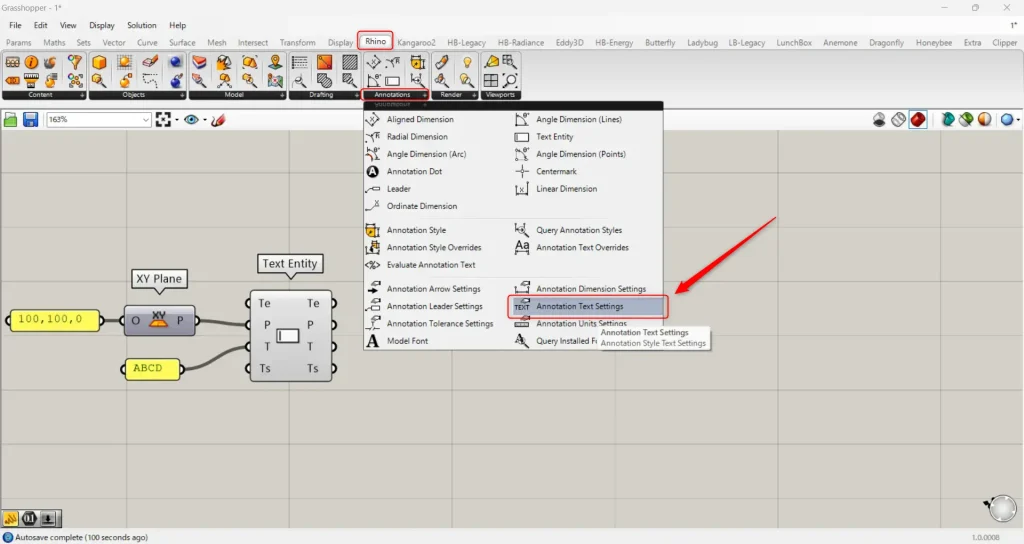
Ts端子では、RhinoタブのAnnotationsにある、Annotation Text Settingsコンポーネントを使います。
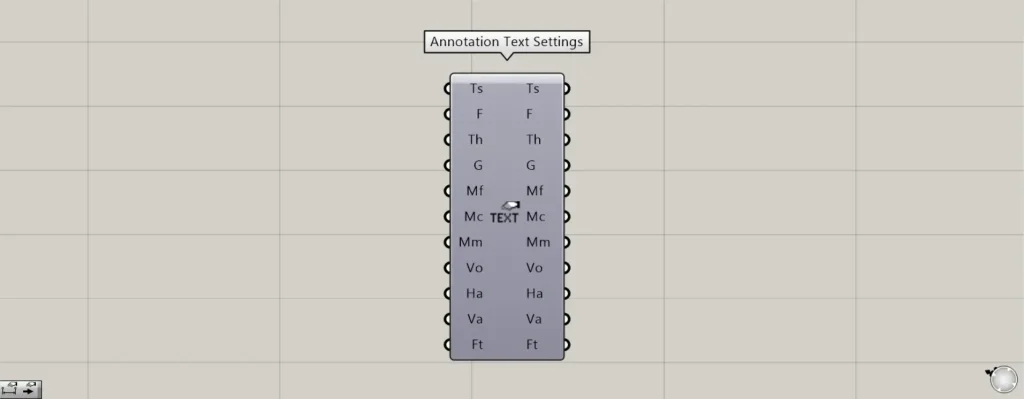
こちらが、Annotation Text Settingsです。
これを使うことで、様々なテキストの詳細設定ができます。
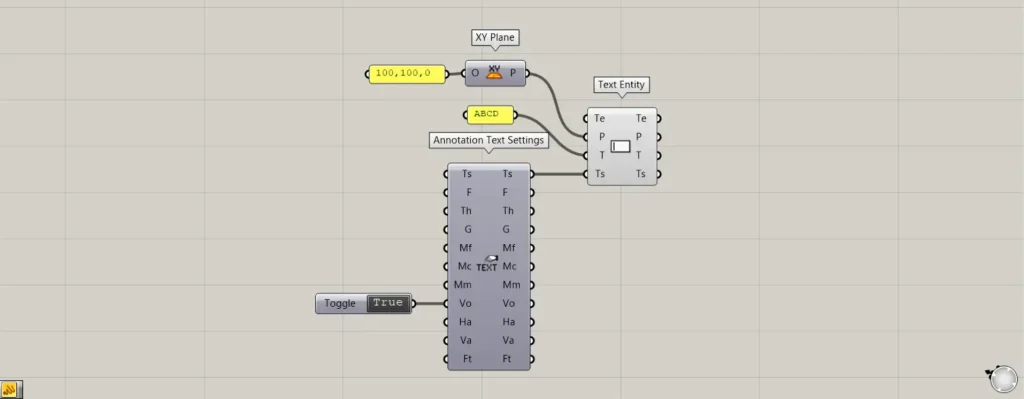
追加コンポーネント:①Boolean Toggle ②Annotation Text Settings
1つの例として、テキストを全てのビュー・視点からみても正面になるようにしてみます。
Annotation Text SettingsのVo端子に、TrueにしたBoolean Toggleをつなげます。
そして、Annotation Text Settingsの右側のTs端子を、Text Entityの左側のTs端子につなげます。
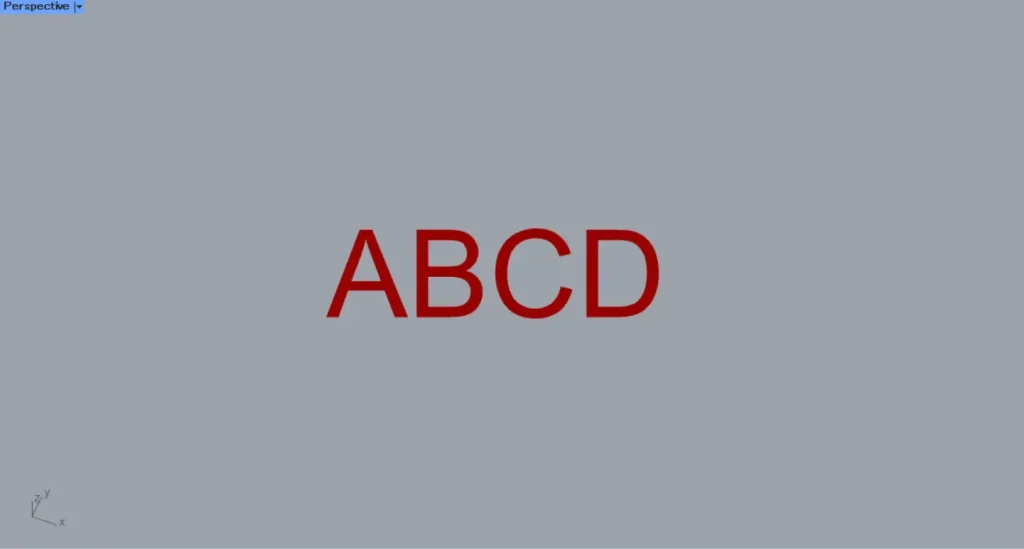
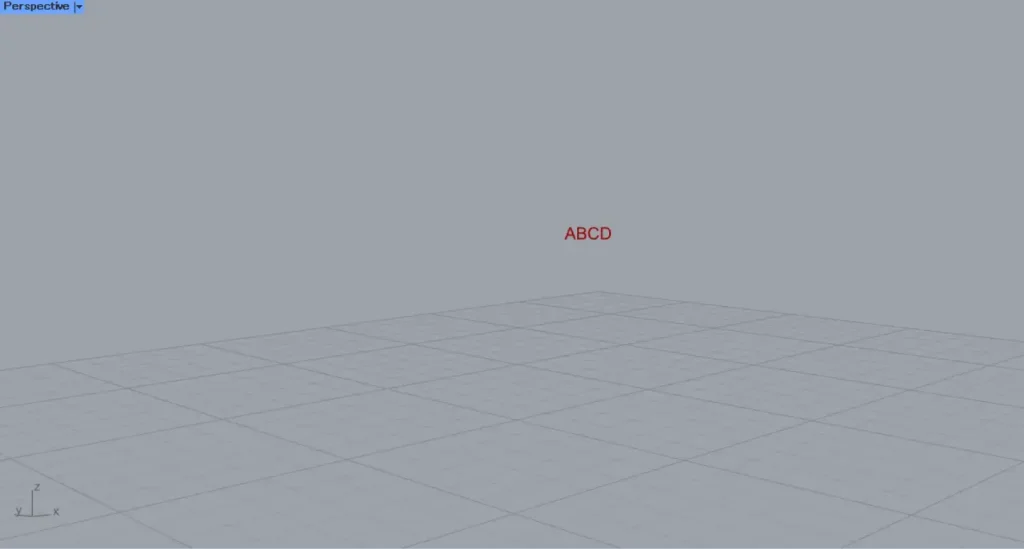
すると、どの視点でもテキストが正面を向くようになりました。
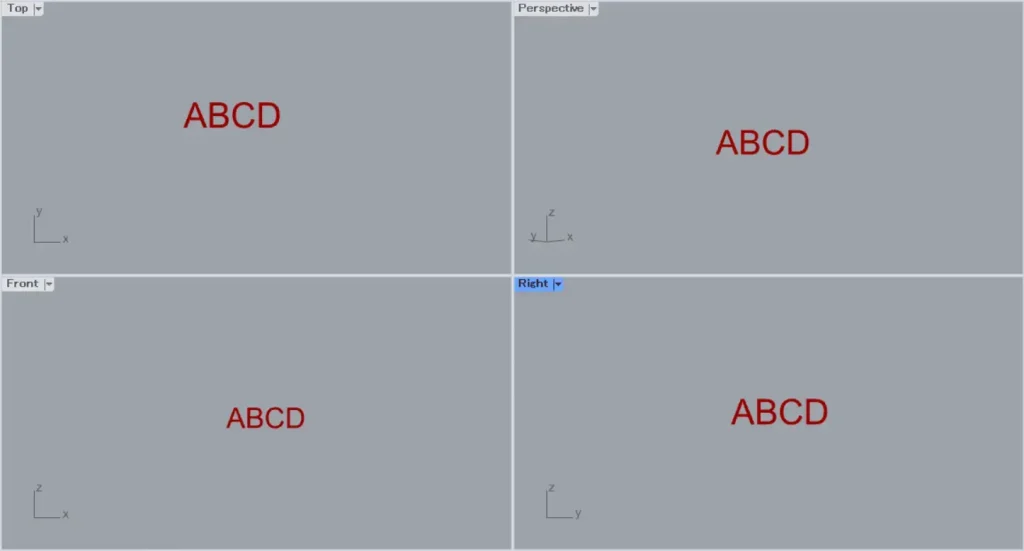
他のビューでも、テキストが正面を向くようになりました。
このように、Ts端子で様々なテキストの設定をすることができます。
Text Entityコンポーネントを使用しているグラスホッパー記事はこちら↓


Comment